
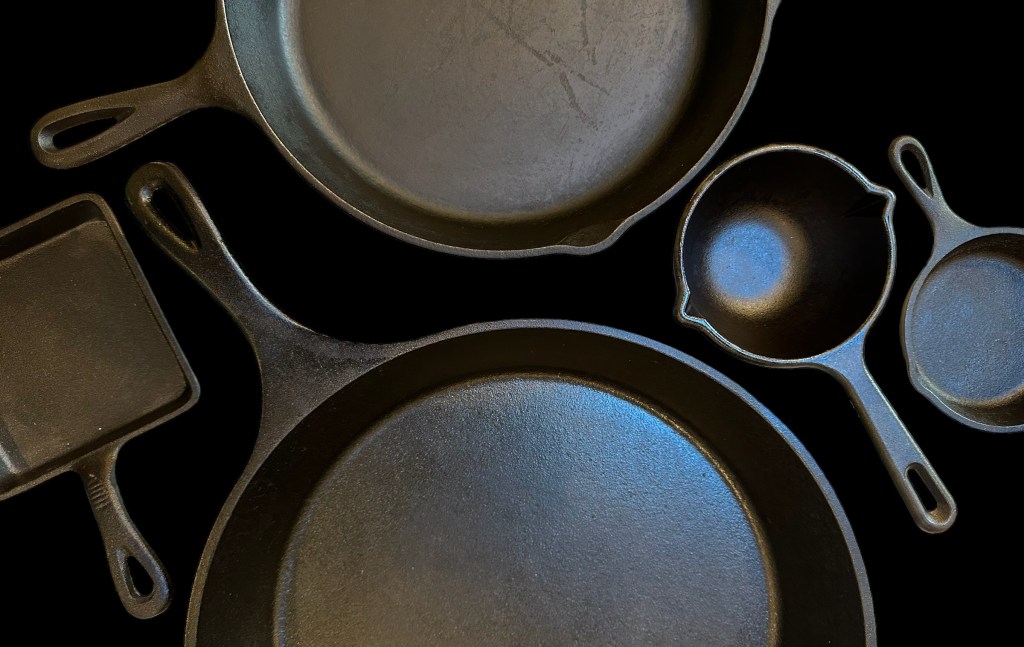
Perhaps you’ve inherited a cast-iron skillet from a beloved family member, you’ve wisely purchased one from a housewares store, or you’ve been lucky enough to discover one bargain-priced at a yard sale (I bought that tiny saucepan in the header image for $1.00!). Once you own one, you’ll soon discover that a cast-iron skillet is one of the most versatile pieces of kitchen equipment to have in your collection.
There are many virtues to cast-iron pans. They’re relatively indestructible and naturally nonstick, they reliably retain heat, add trace amounts of beneficial iron to foods, and can cook on practically any surface, including gas, electric, or induction stovetops, on the grill, or even directly on top of hot coals. As if that’s not enough, they easily transfer from stovetop to oven without missing a beat! Click here to watch me cook steak in a cast-iron skillet, starting on the stovetop, then finishing in the oven.
These days, most cast-iron skillets are sold pre-seasoned, but the pan will still need to be cleaned after each use to properly maintain the surface so it’ll always be ready when you reach for it. Here’s a step-by-step guide to easy cleaning and caring for cast-iron pans. Now, mind you, I do use a bit of soap, which contradicts some manufacturers’ advice, but I’ve had my pans for 12+ years, and they continue to look great, so I’ll let you be the judge.
1. Rinse your cast-iron skillet in warm water. Add a few drops of dish soap if needed to help dissolve any oily residue. Use a hard plastic pan scraper or stiff-bristled pot scrubber for stubborn food stuck to the skillet (never put your cast-iron pans in the dishwasher).
2. Thoroughly dry the entire pan’s surface (including the sides, bottom, and handle) with paper towels or a clean, lint-free “thirsty” kitchen towel. Do this immediately!
3. Using a paper towel, buff a small amount of vegetable or canola oil onto the skillet’s surface (including the bottom, sides, and handle), leaving a very thin coating behind and wiping any residual oil away. The pan shouldn’t feel sticky. Note that it’s normal to see a bit of dark residue transfer to the paper towel, but don’t worry; it’s just a bit of the pan’s seasoning rubbing off.
4. Store your cast-iron cookware in a dry, moisture-free cabinet to help prevent rusting. If you’re stacking pans to save space, separate each with a clean kitchen towel to keep the surface clean, dry, and dust-free.
5. If you need to re-season your pan, scrub (really scrub) any rust from the surface with soap and a piece of steel wool. Because you’re restoring your pan, it’s okay to use a tough metal scouring pad since it’s the most effective scrubber for removing rust.
6. Coat the entire surface of the pan lightly with oil, including the sides, bottom, and handle.
7. Position the pan upside down on the top rack in the oven. Line the bottom rack with a piece of foil* or a large, rimmed sheet tray to catch any oil that might drip from the pan. Bake at 450°F to 500°F for 1 hour and let cool completely in the oven before repeating this process, if necessary, to obtain the iconic black cast-iron coloring.
*Remember, never line your oven floor with foil since manufacturers warn that the foil might bake onto the surface.
Watch the Video (3 mins.)
Let me know if you try my method with your cast-iron pans, or if you have questions about how to get the most out of them. As always, you know I love hearing from you!
—Chef Diana
Giving credit where credit is due:
Demo & Tips: Chef Diana
Photo-Video-Edits: Russ Murray (@remages)
