25. cooked!

Sourdough Discard, Part 2: The Pasta!

If you’re reading this, that means you’re back in to see how and if my idea for making pasta with sourdough discard worked. I’m happy to report that it did and that it was delicious!

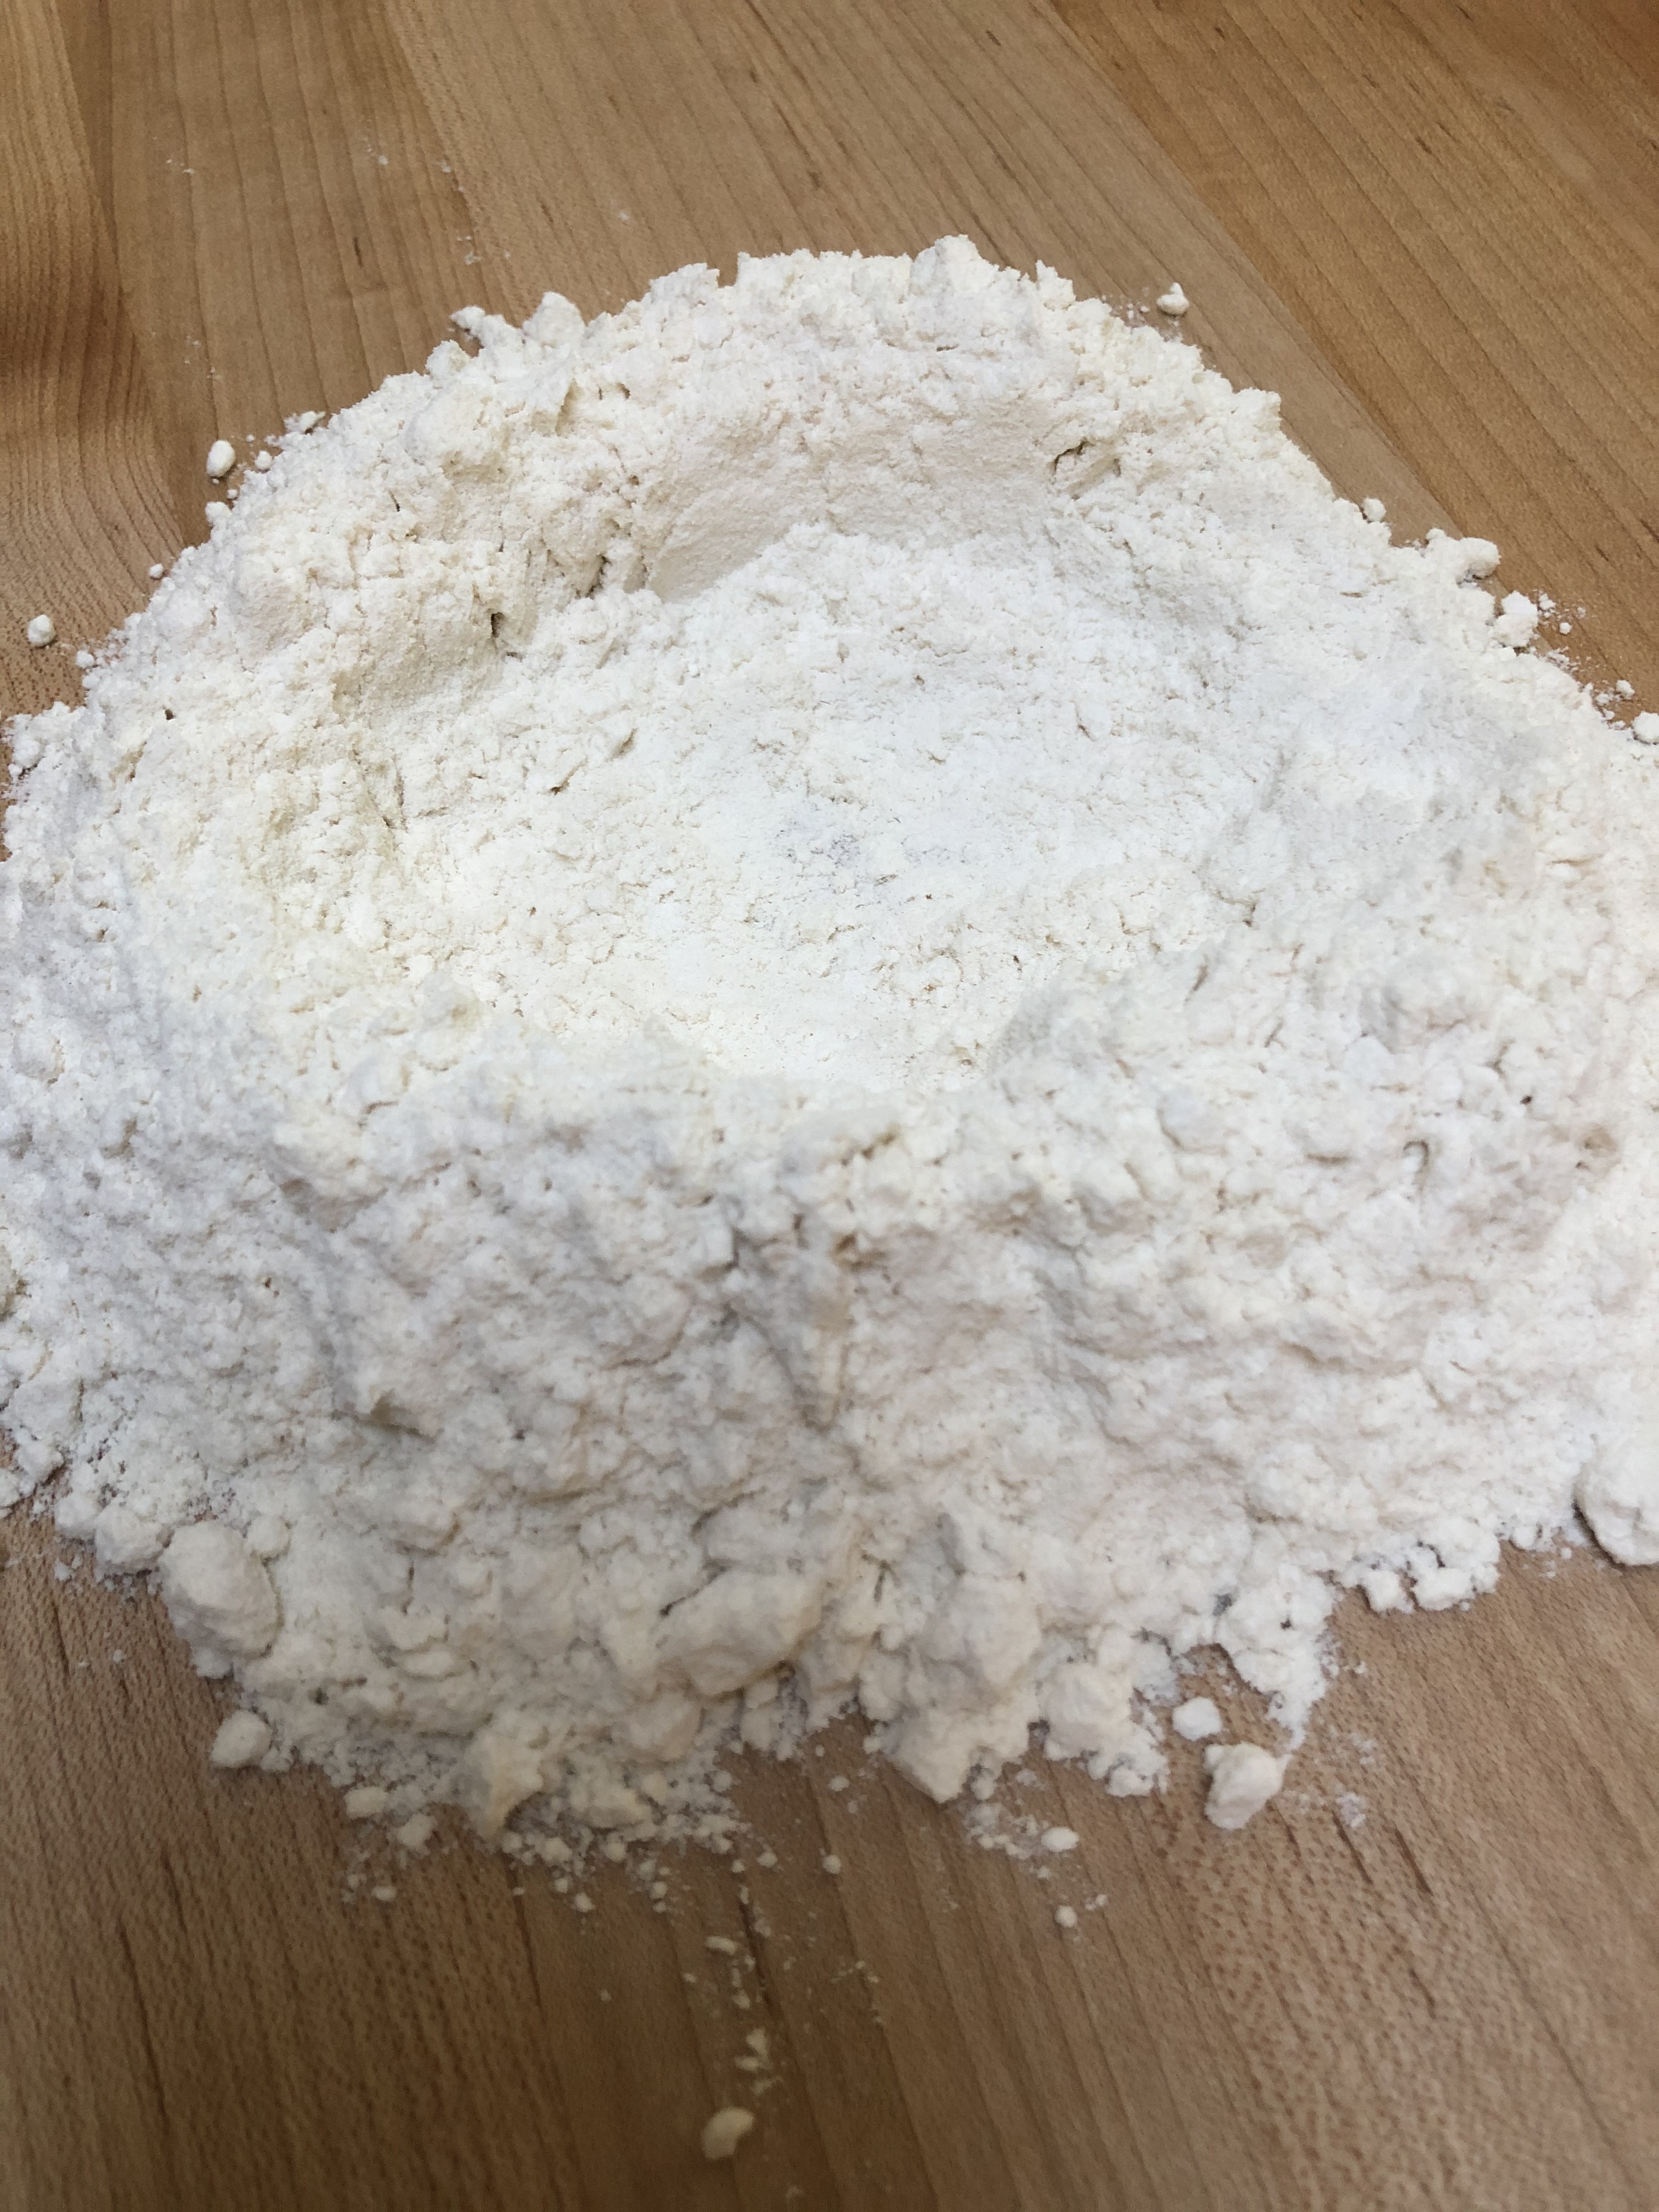
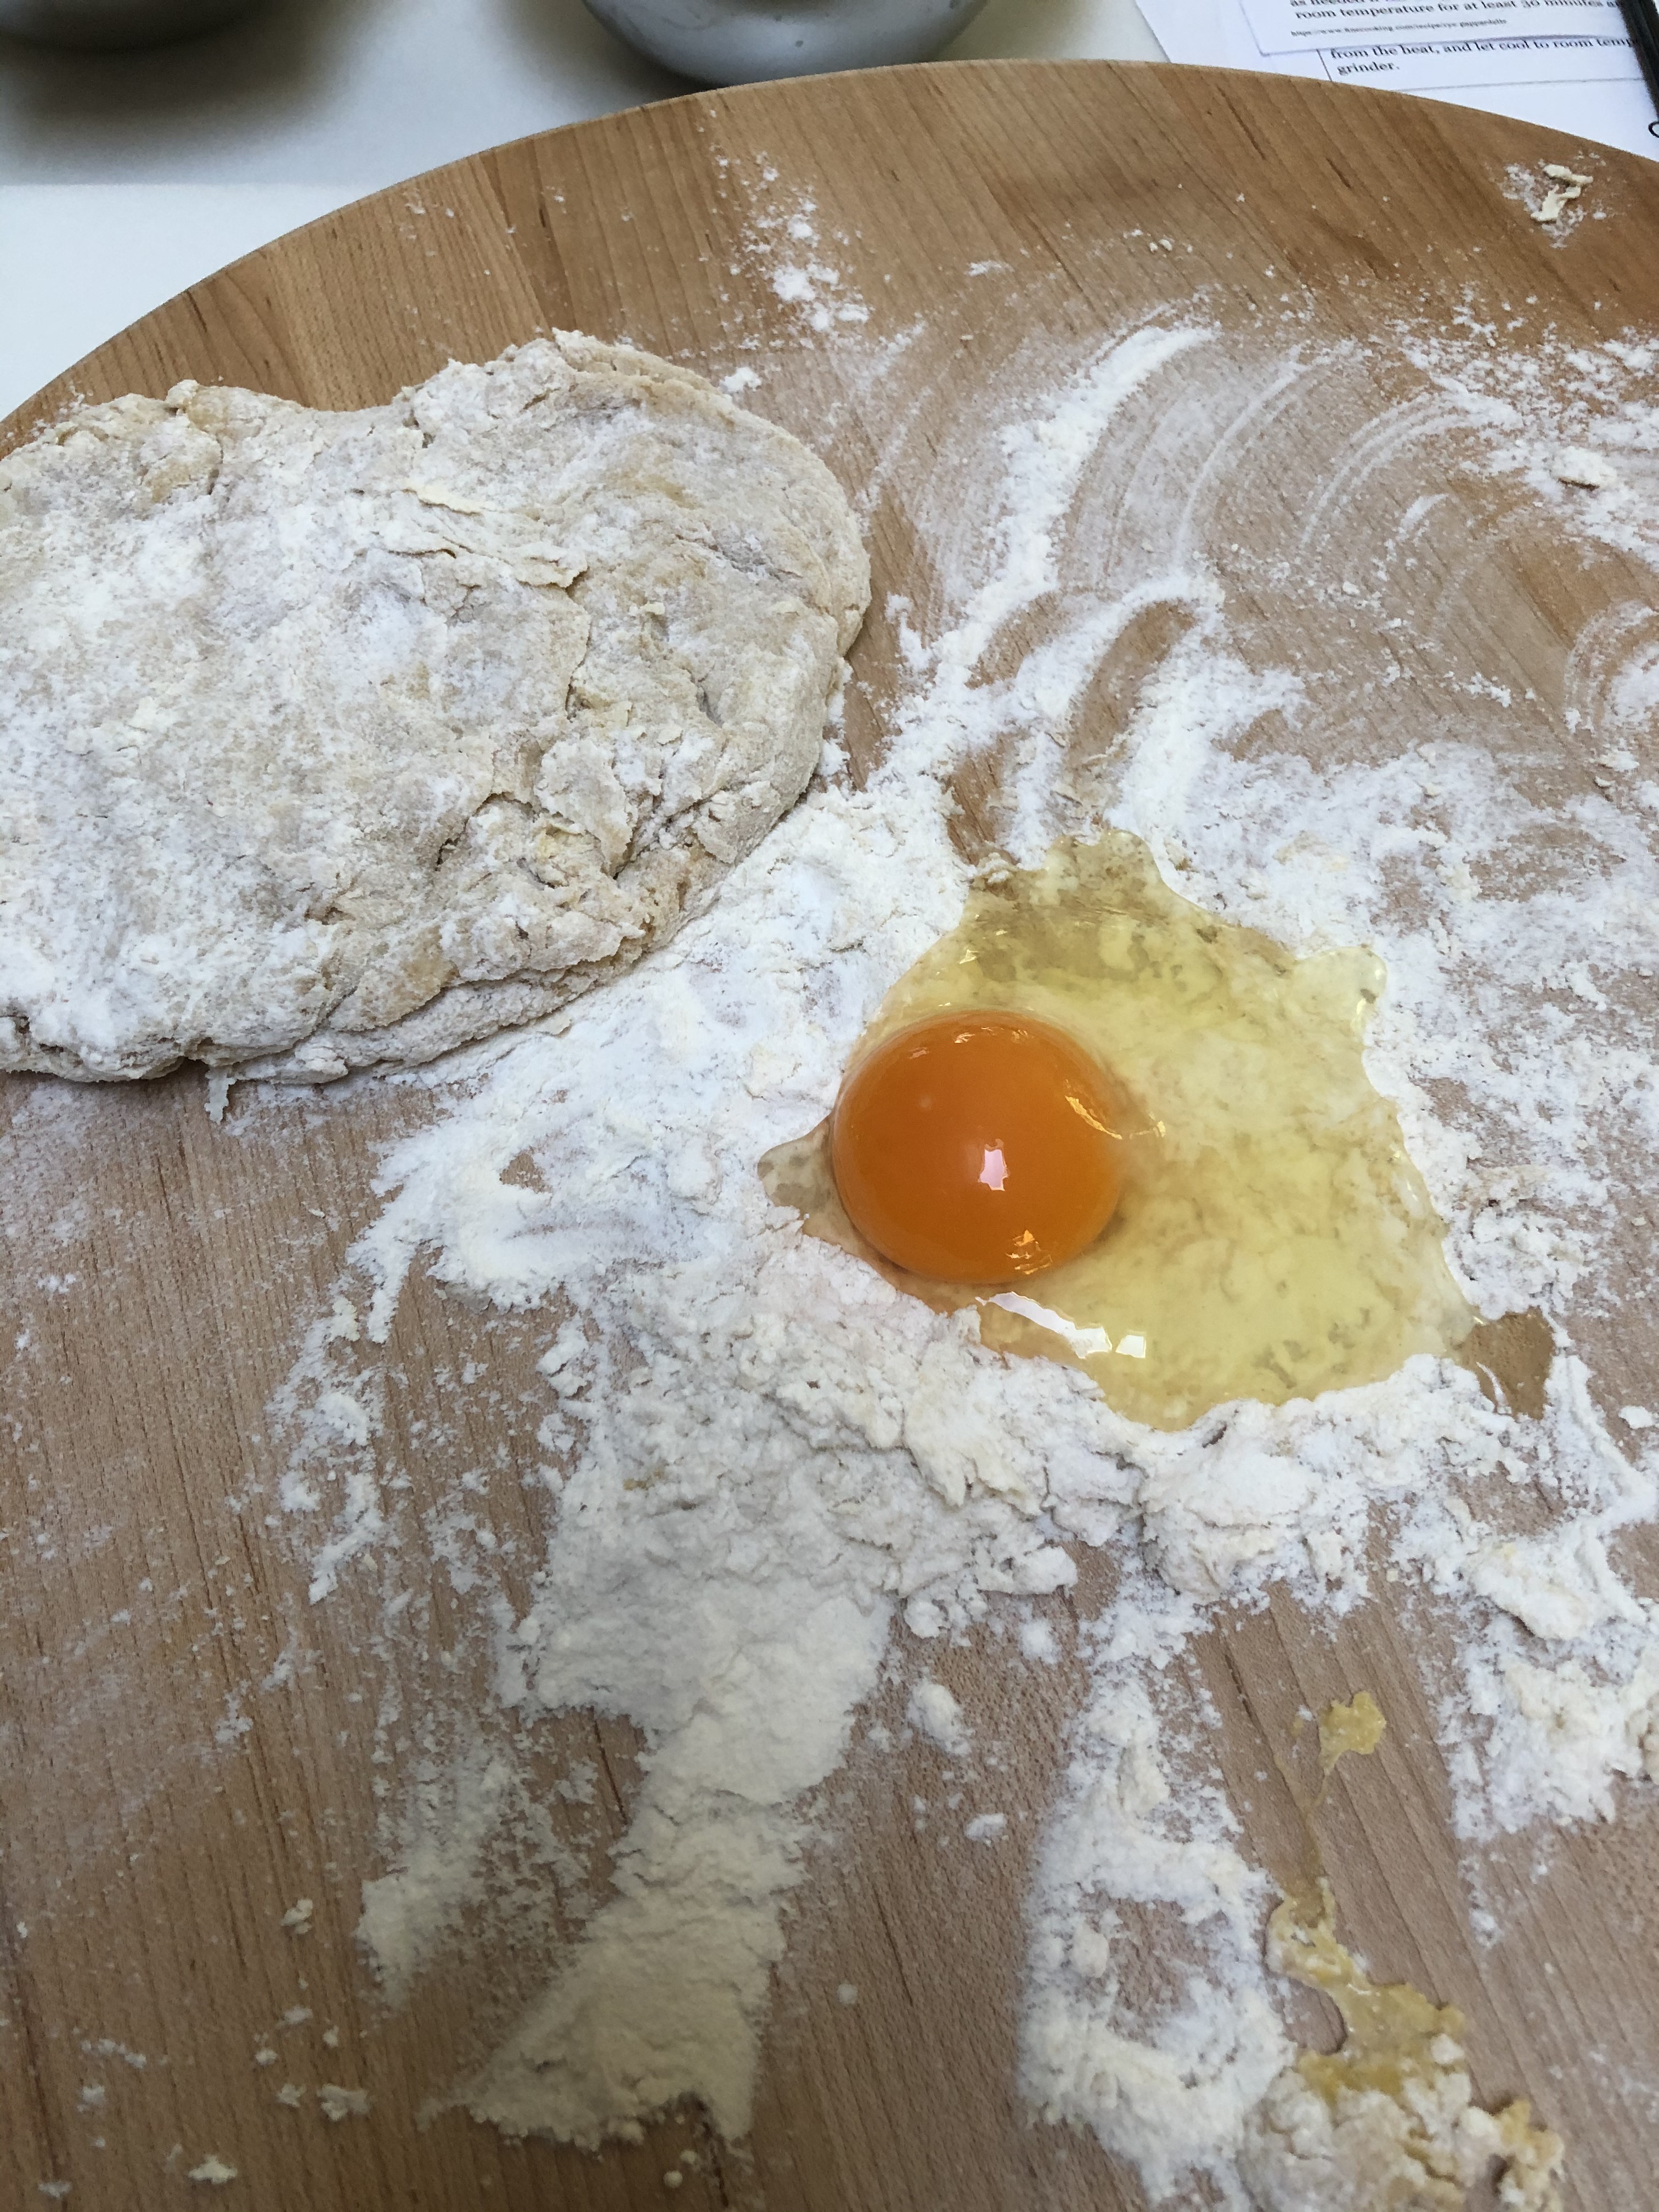
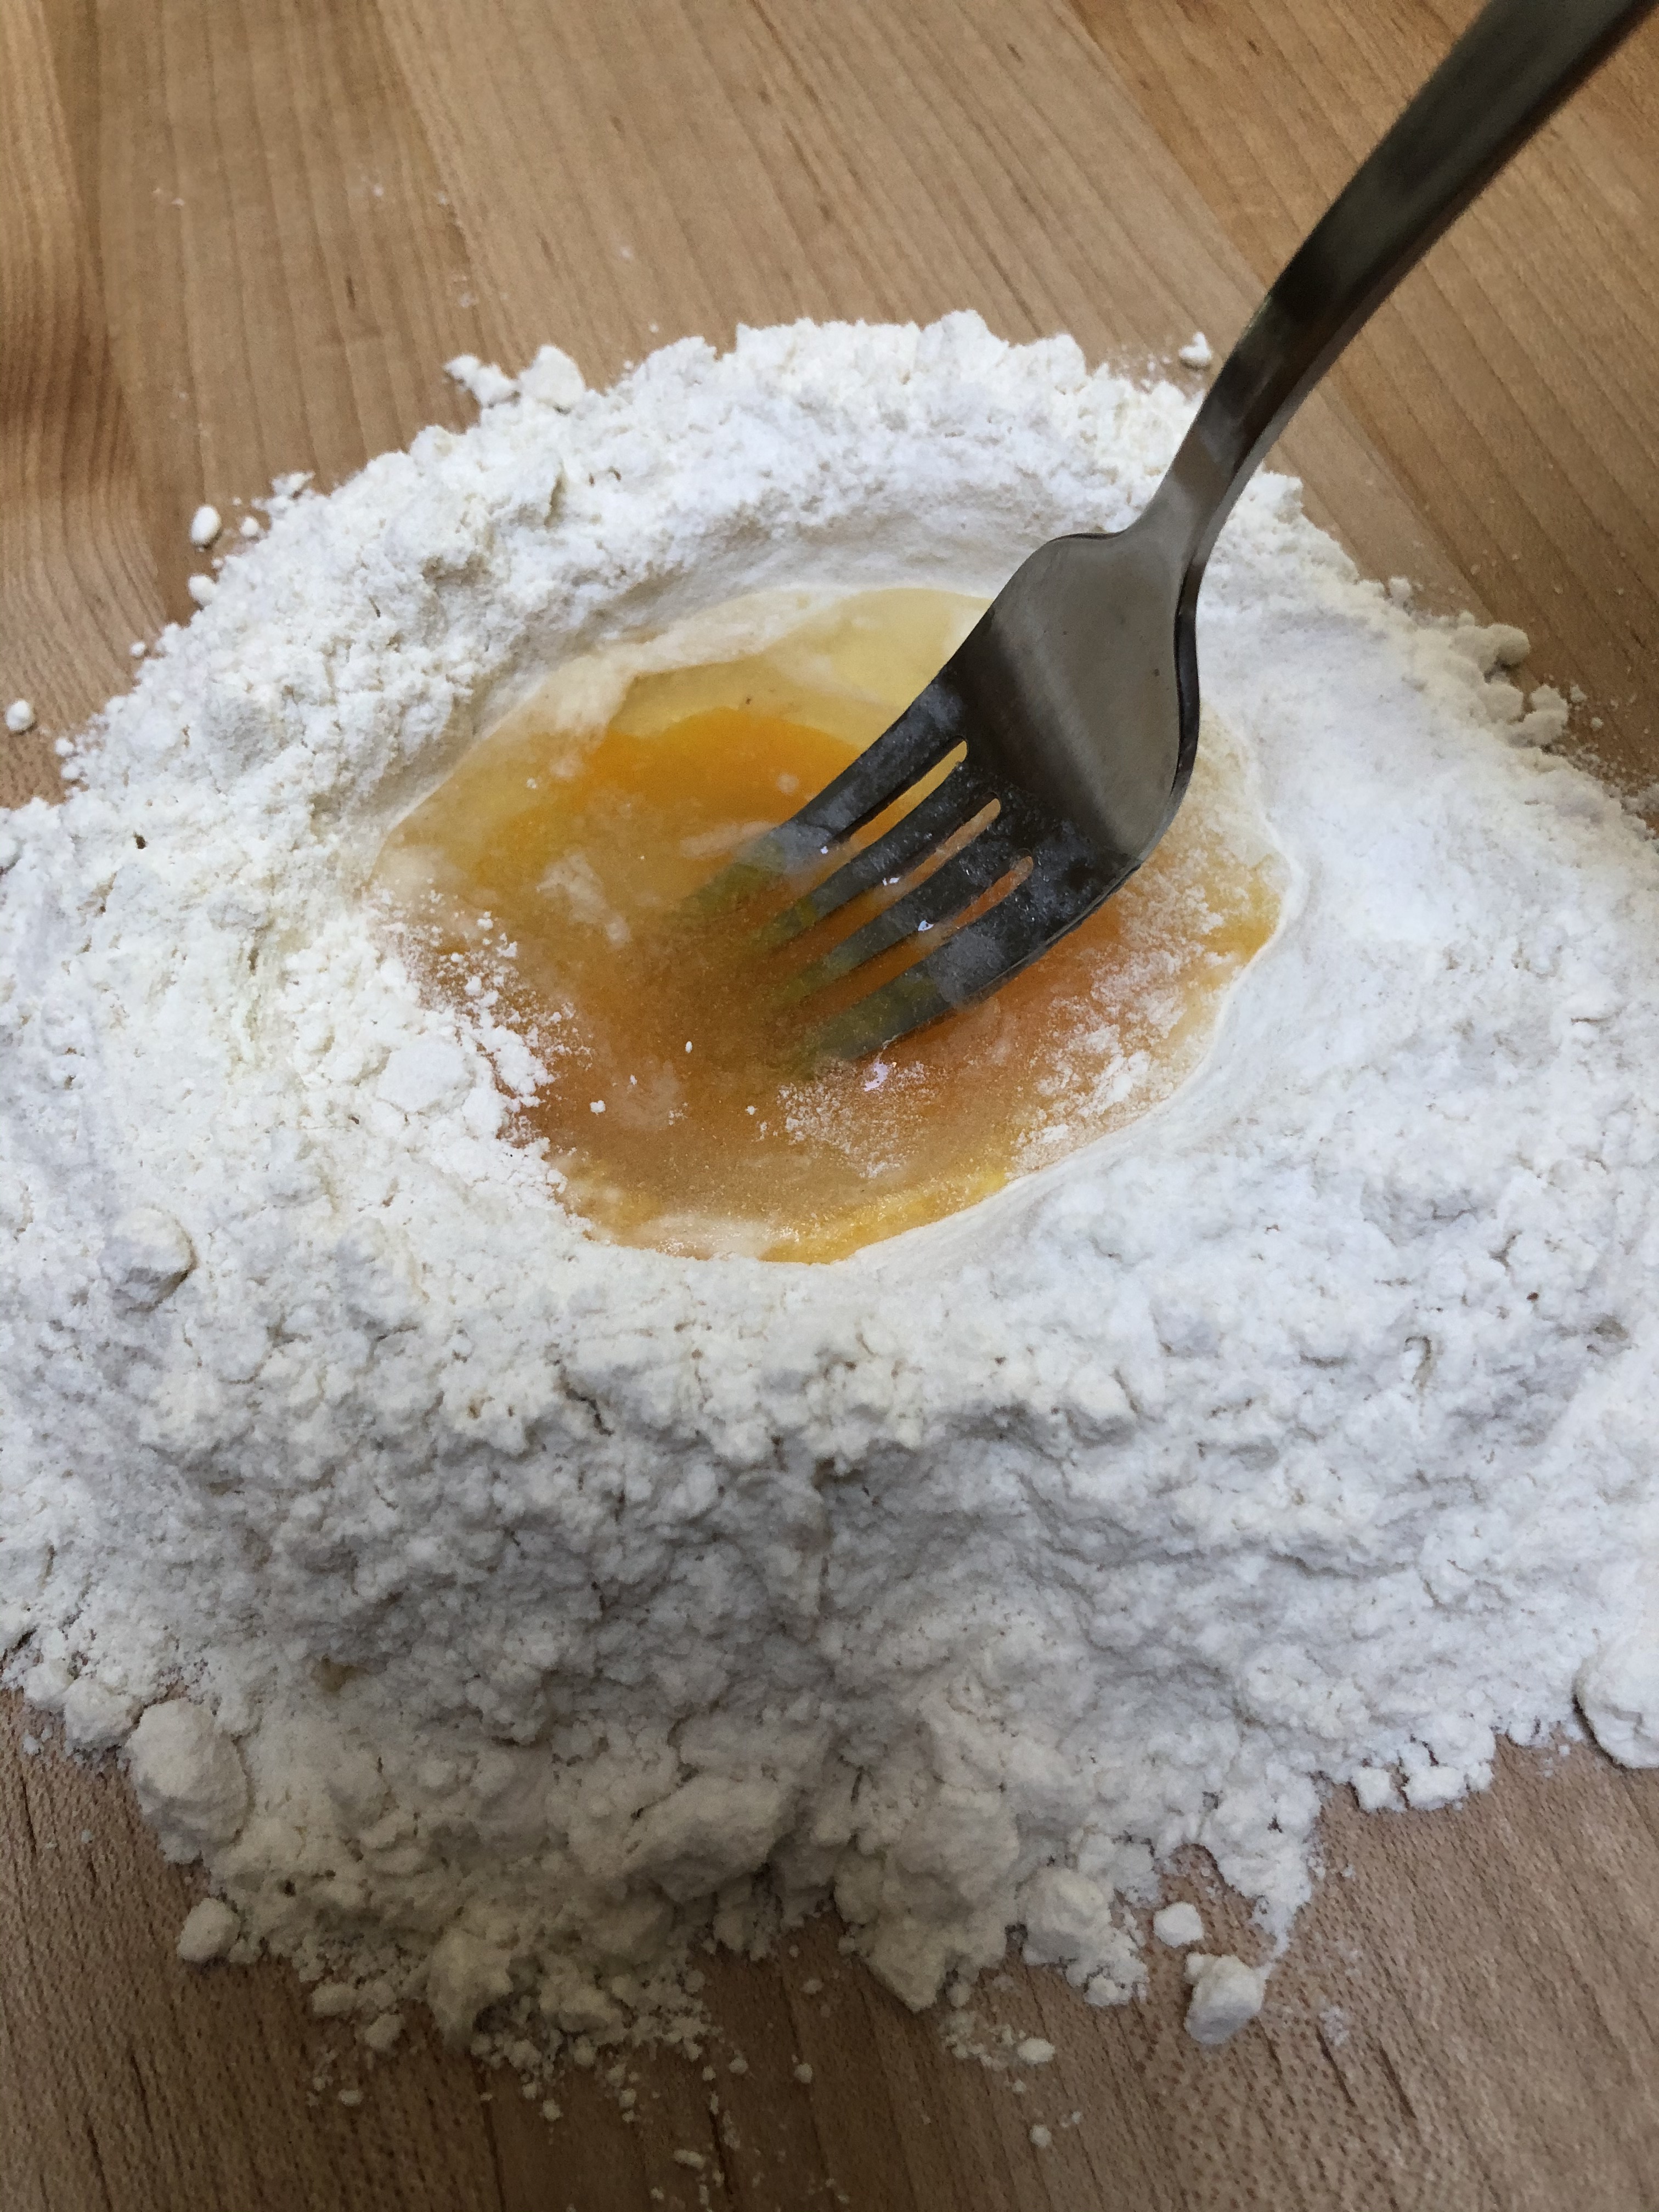
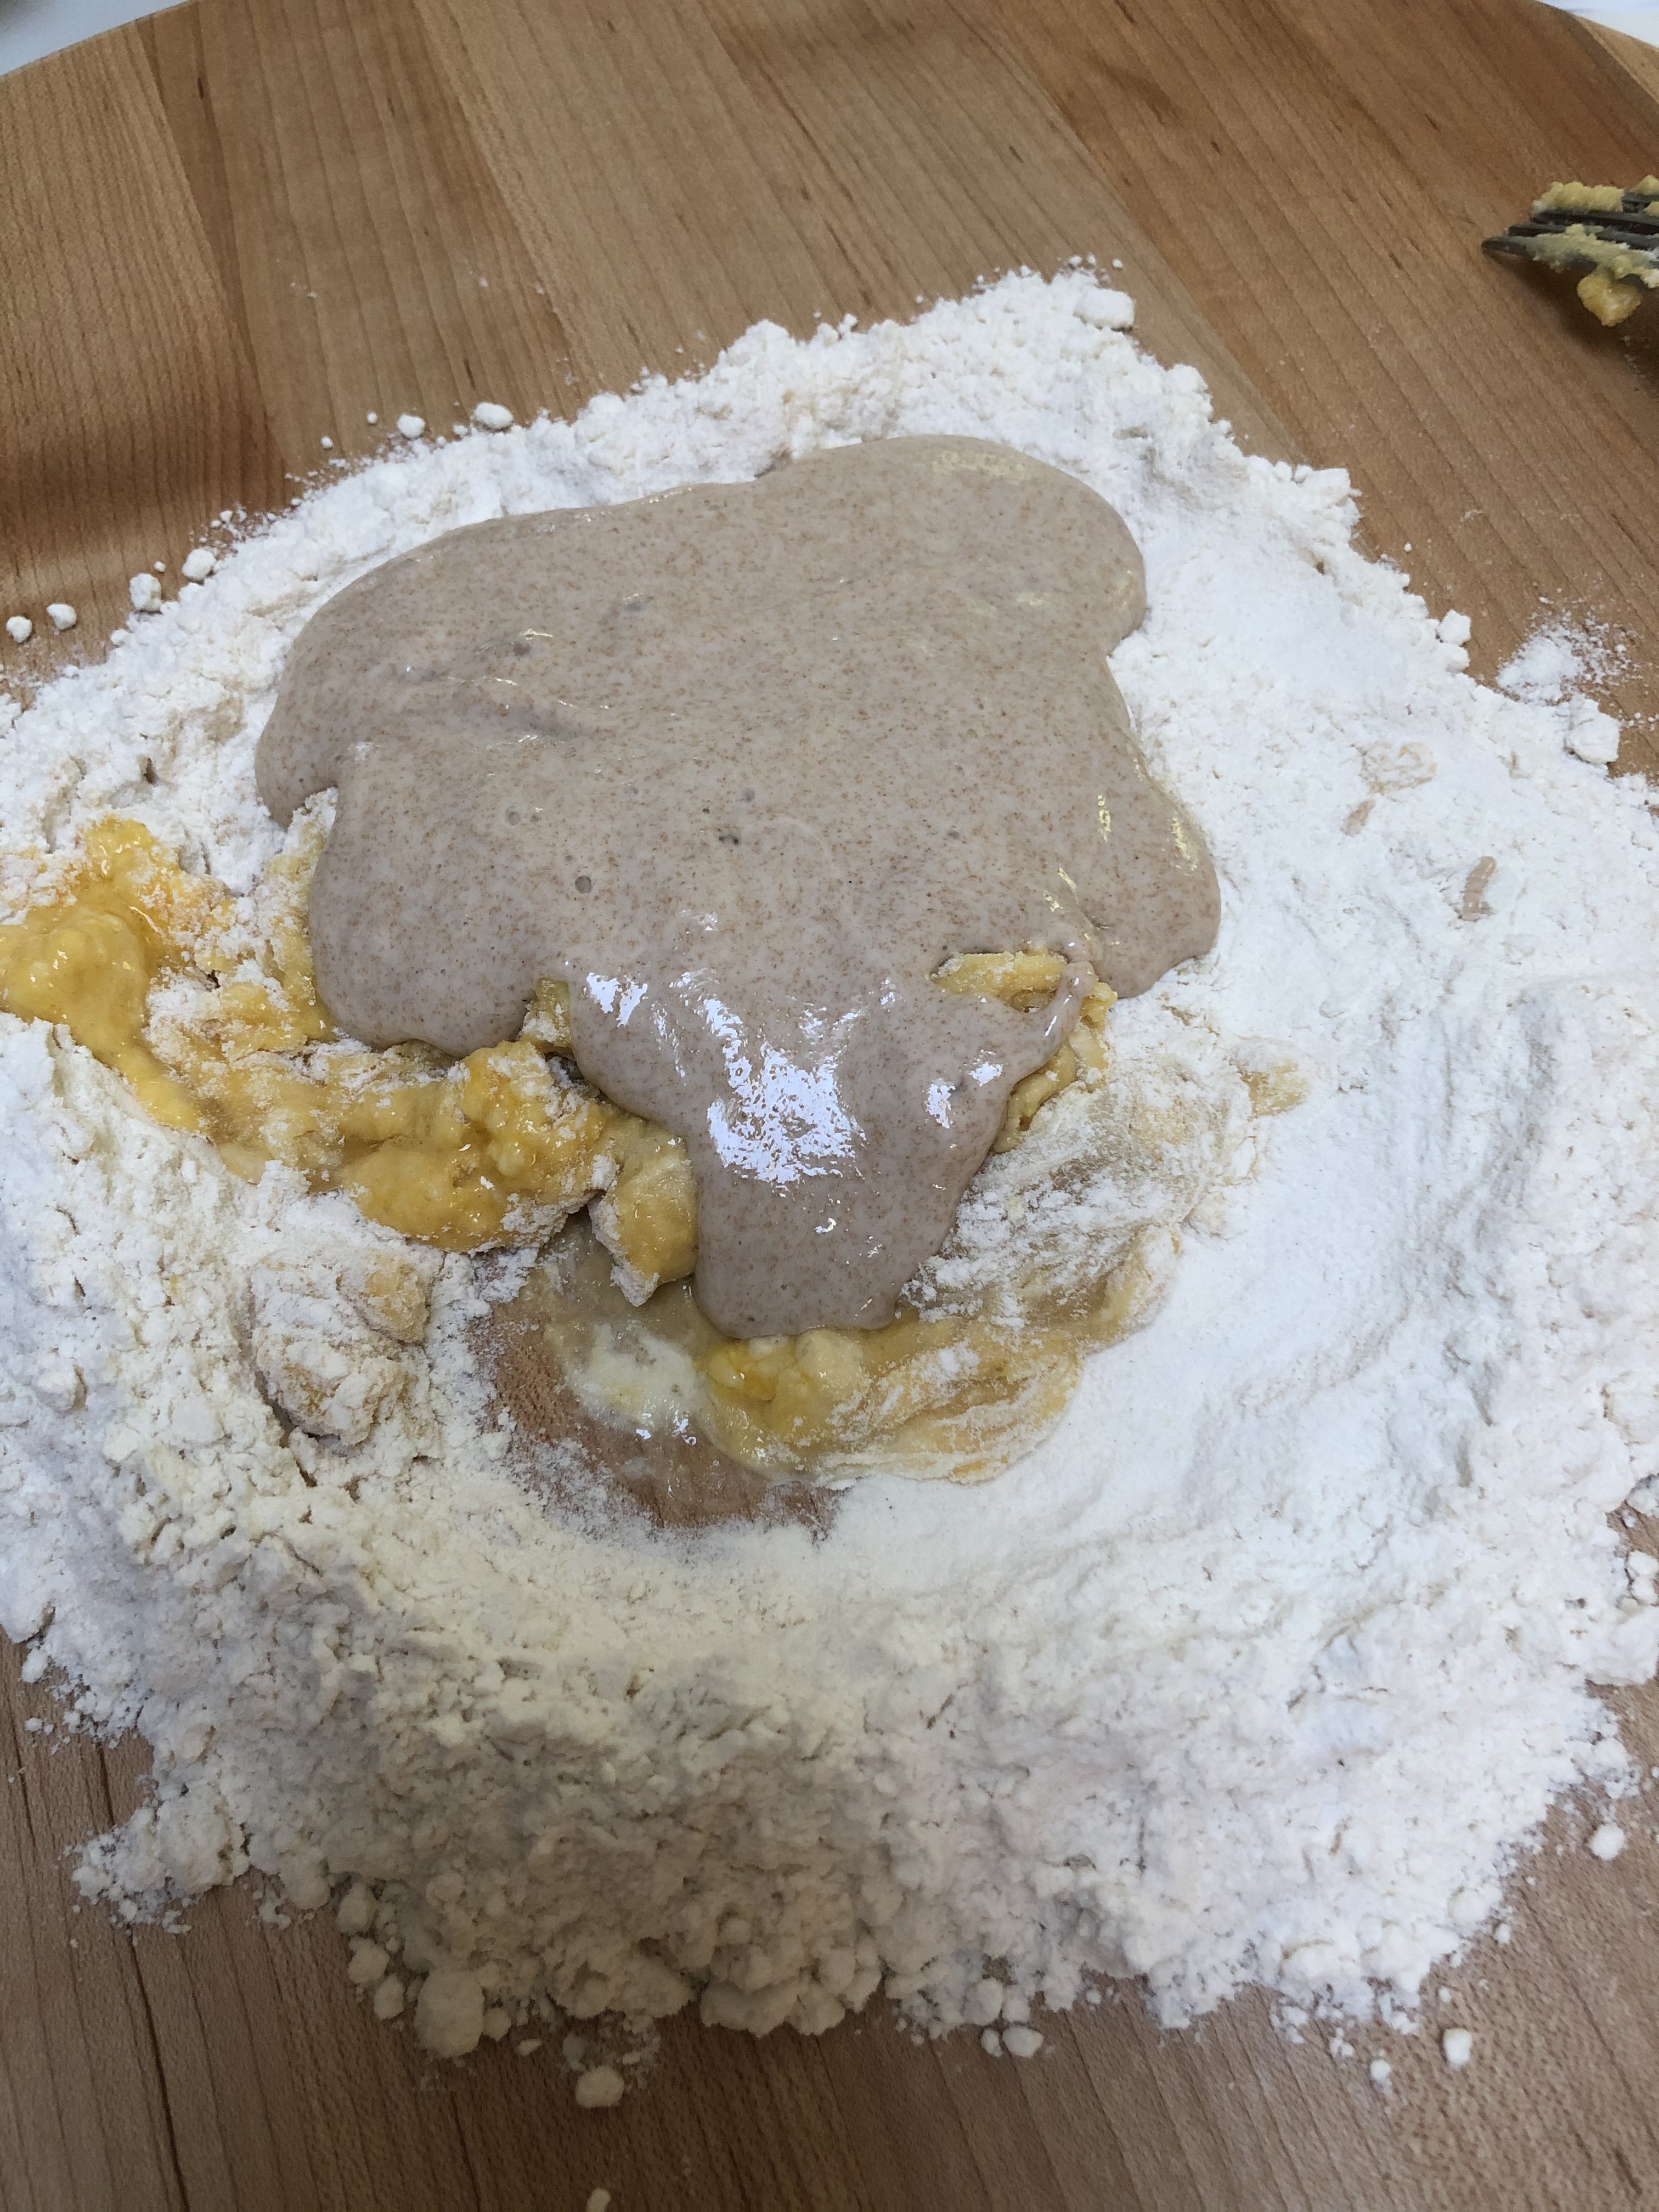
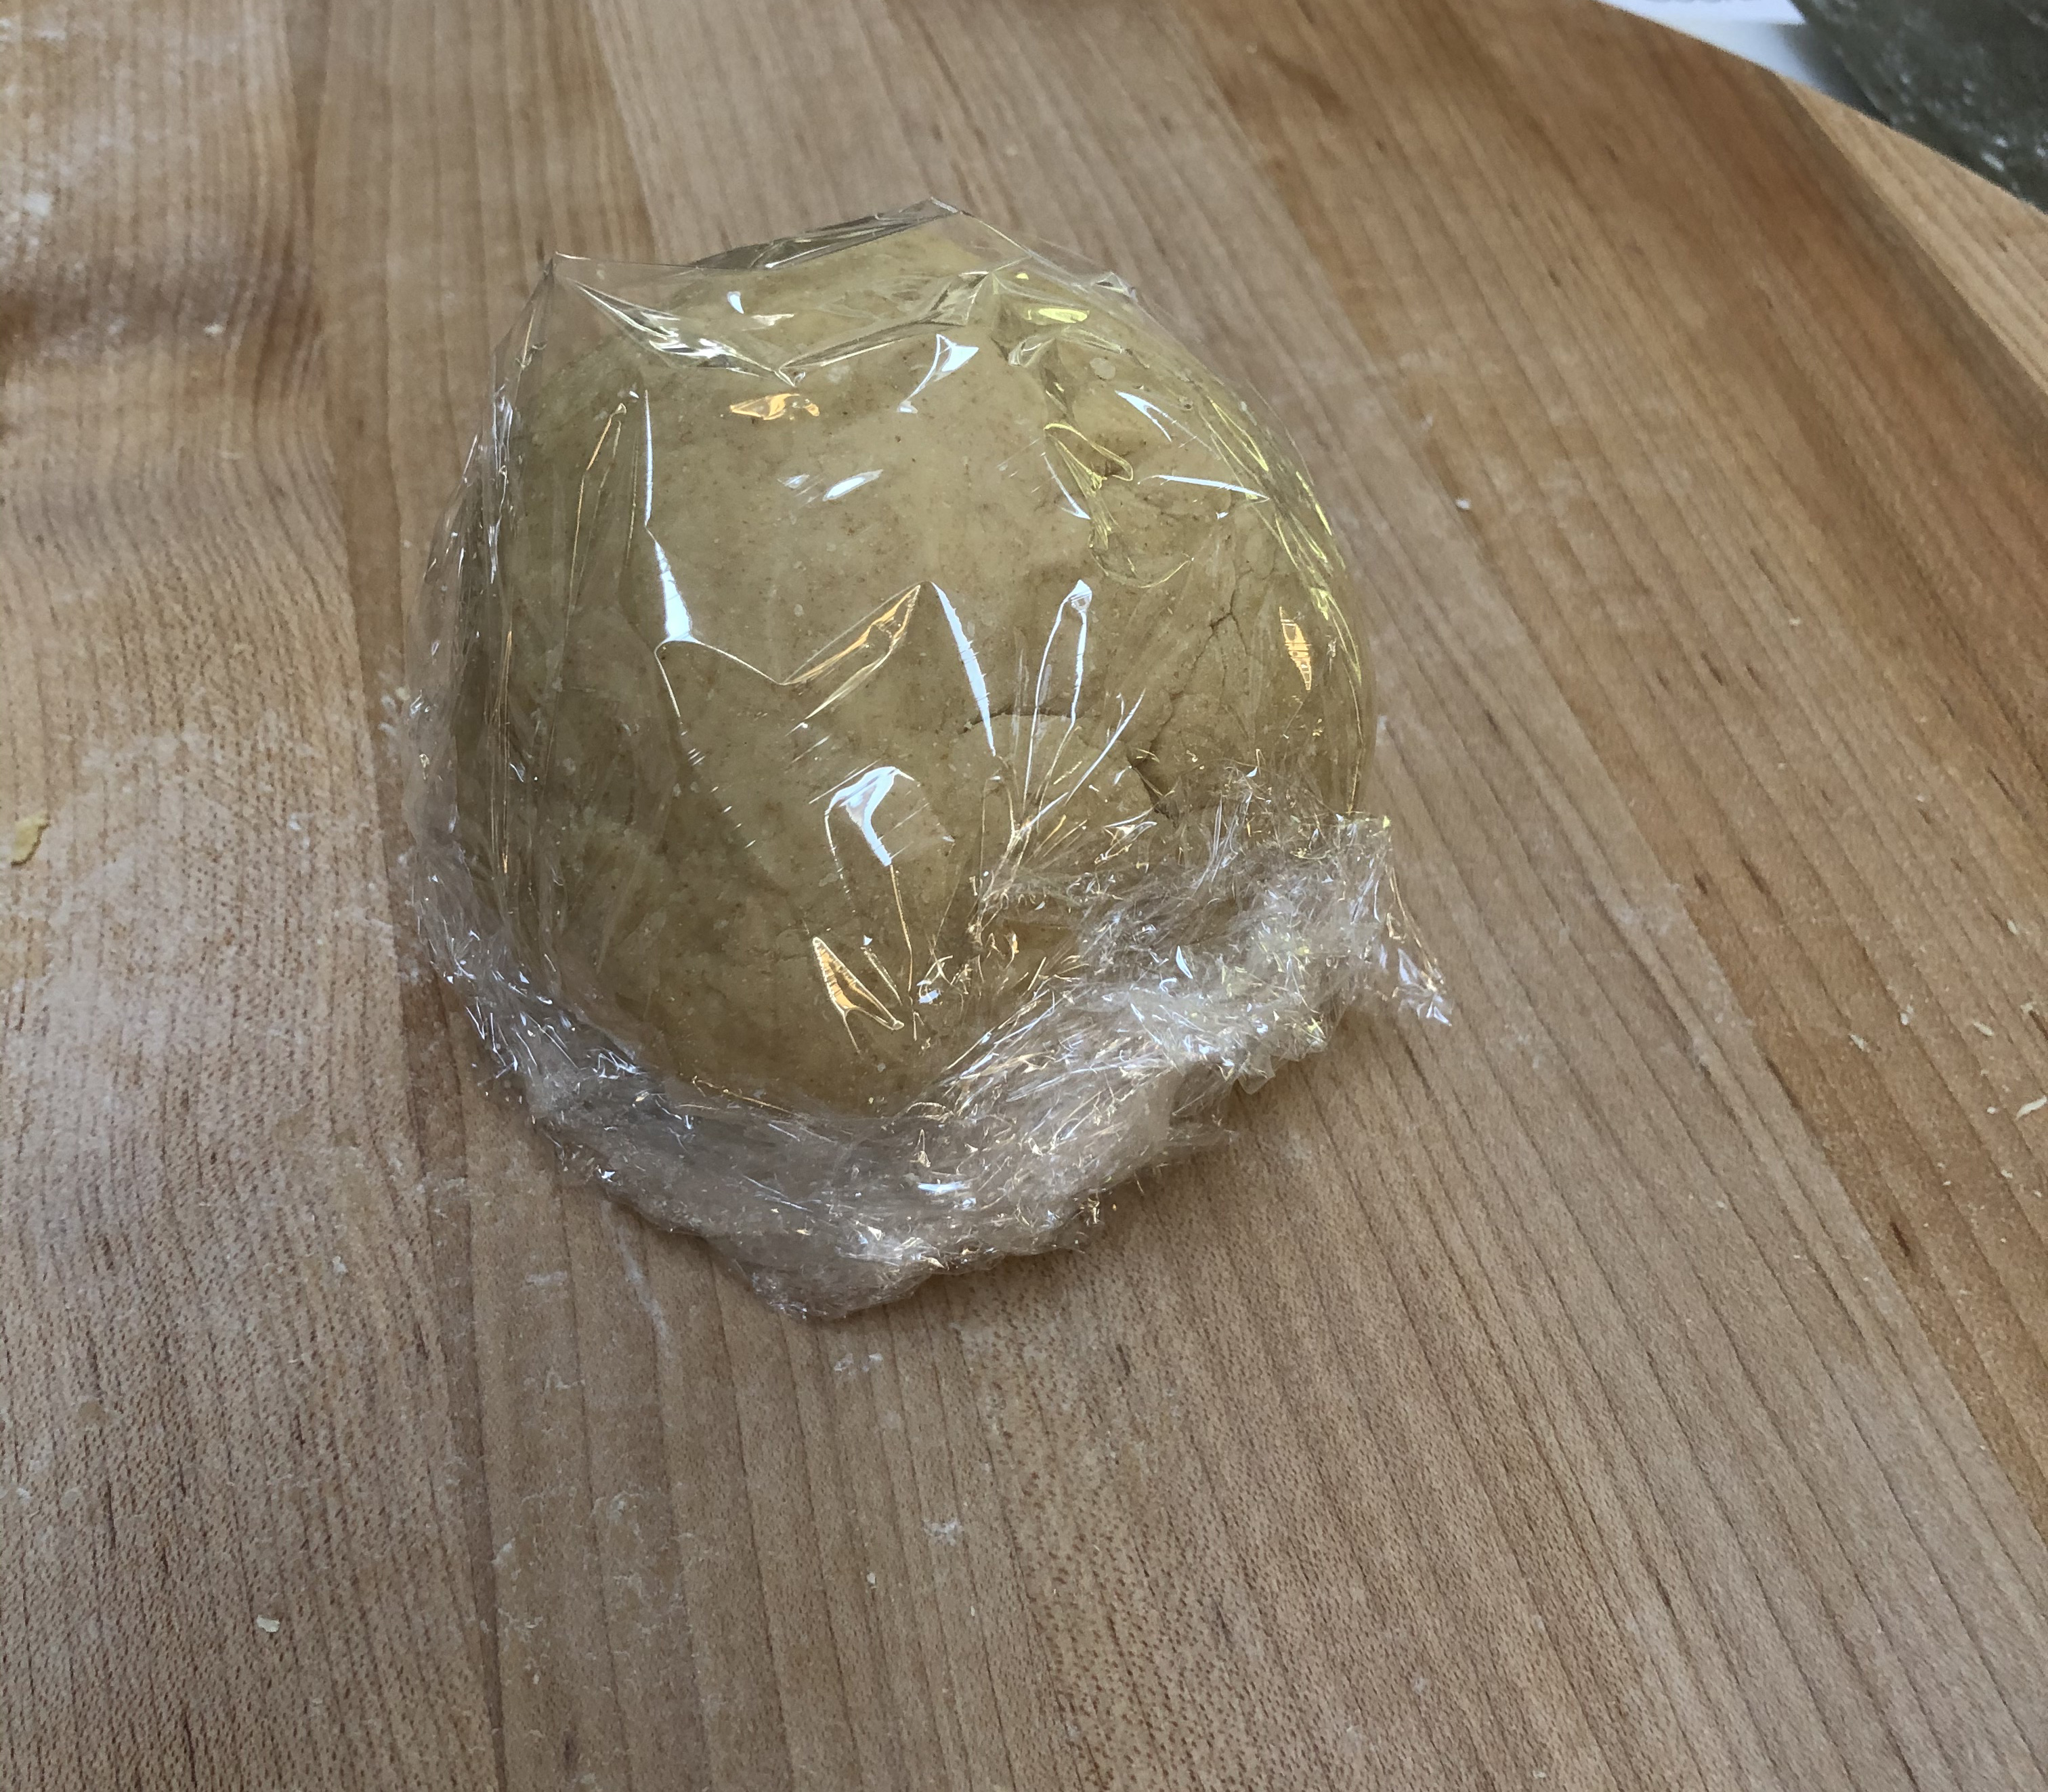
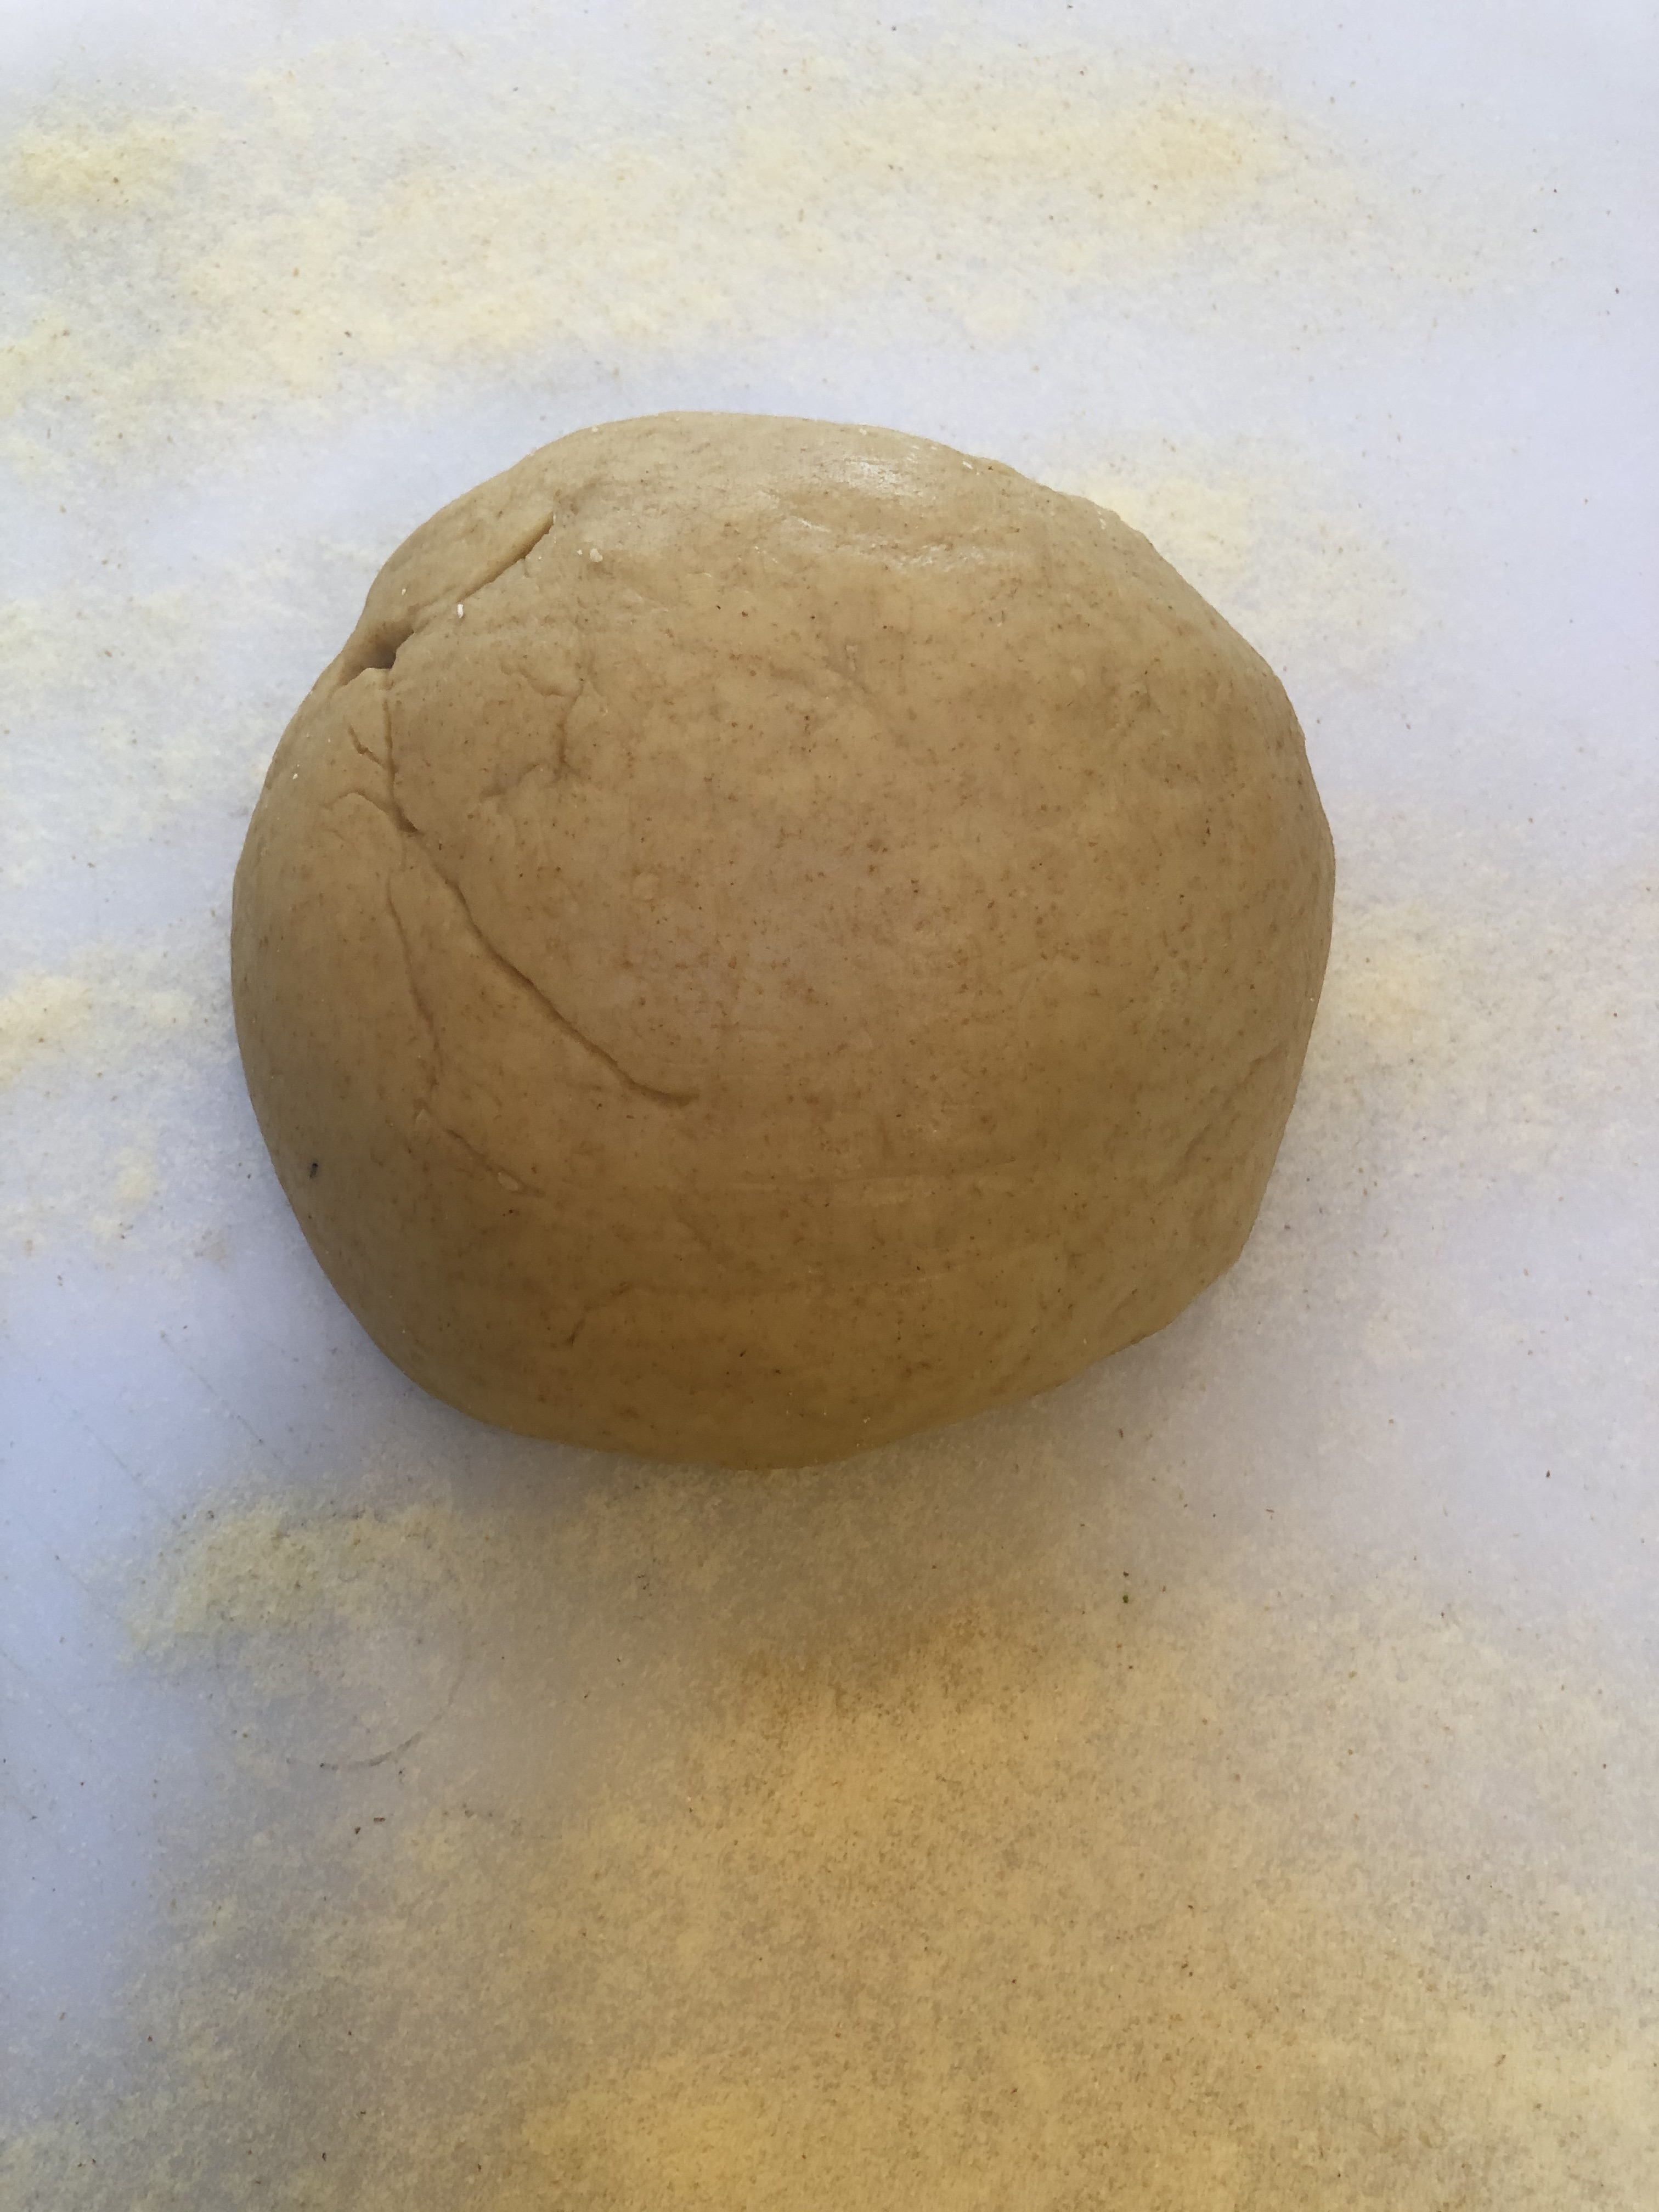
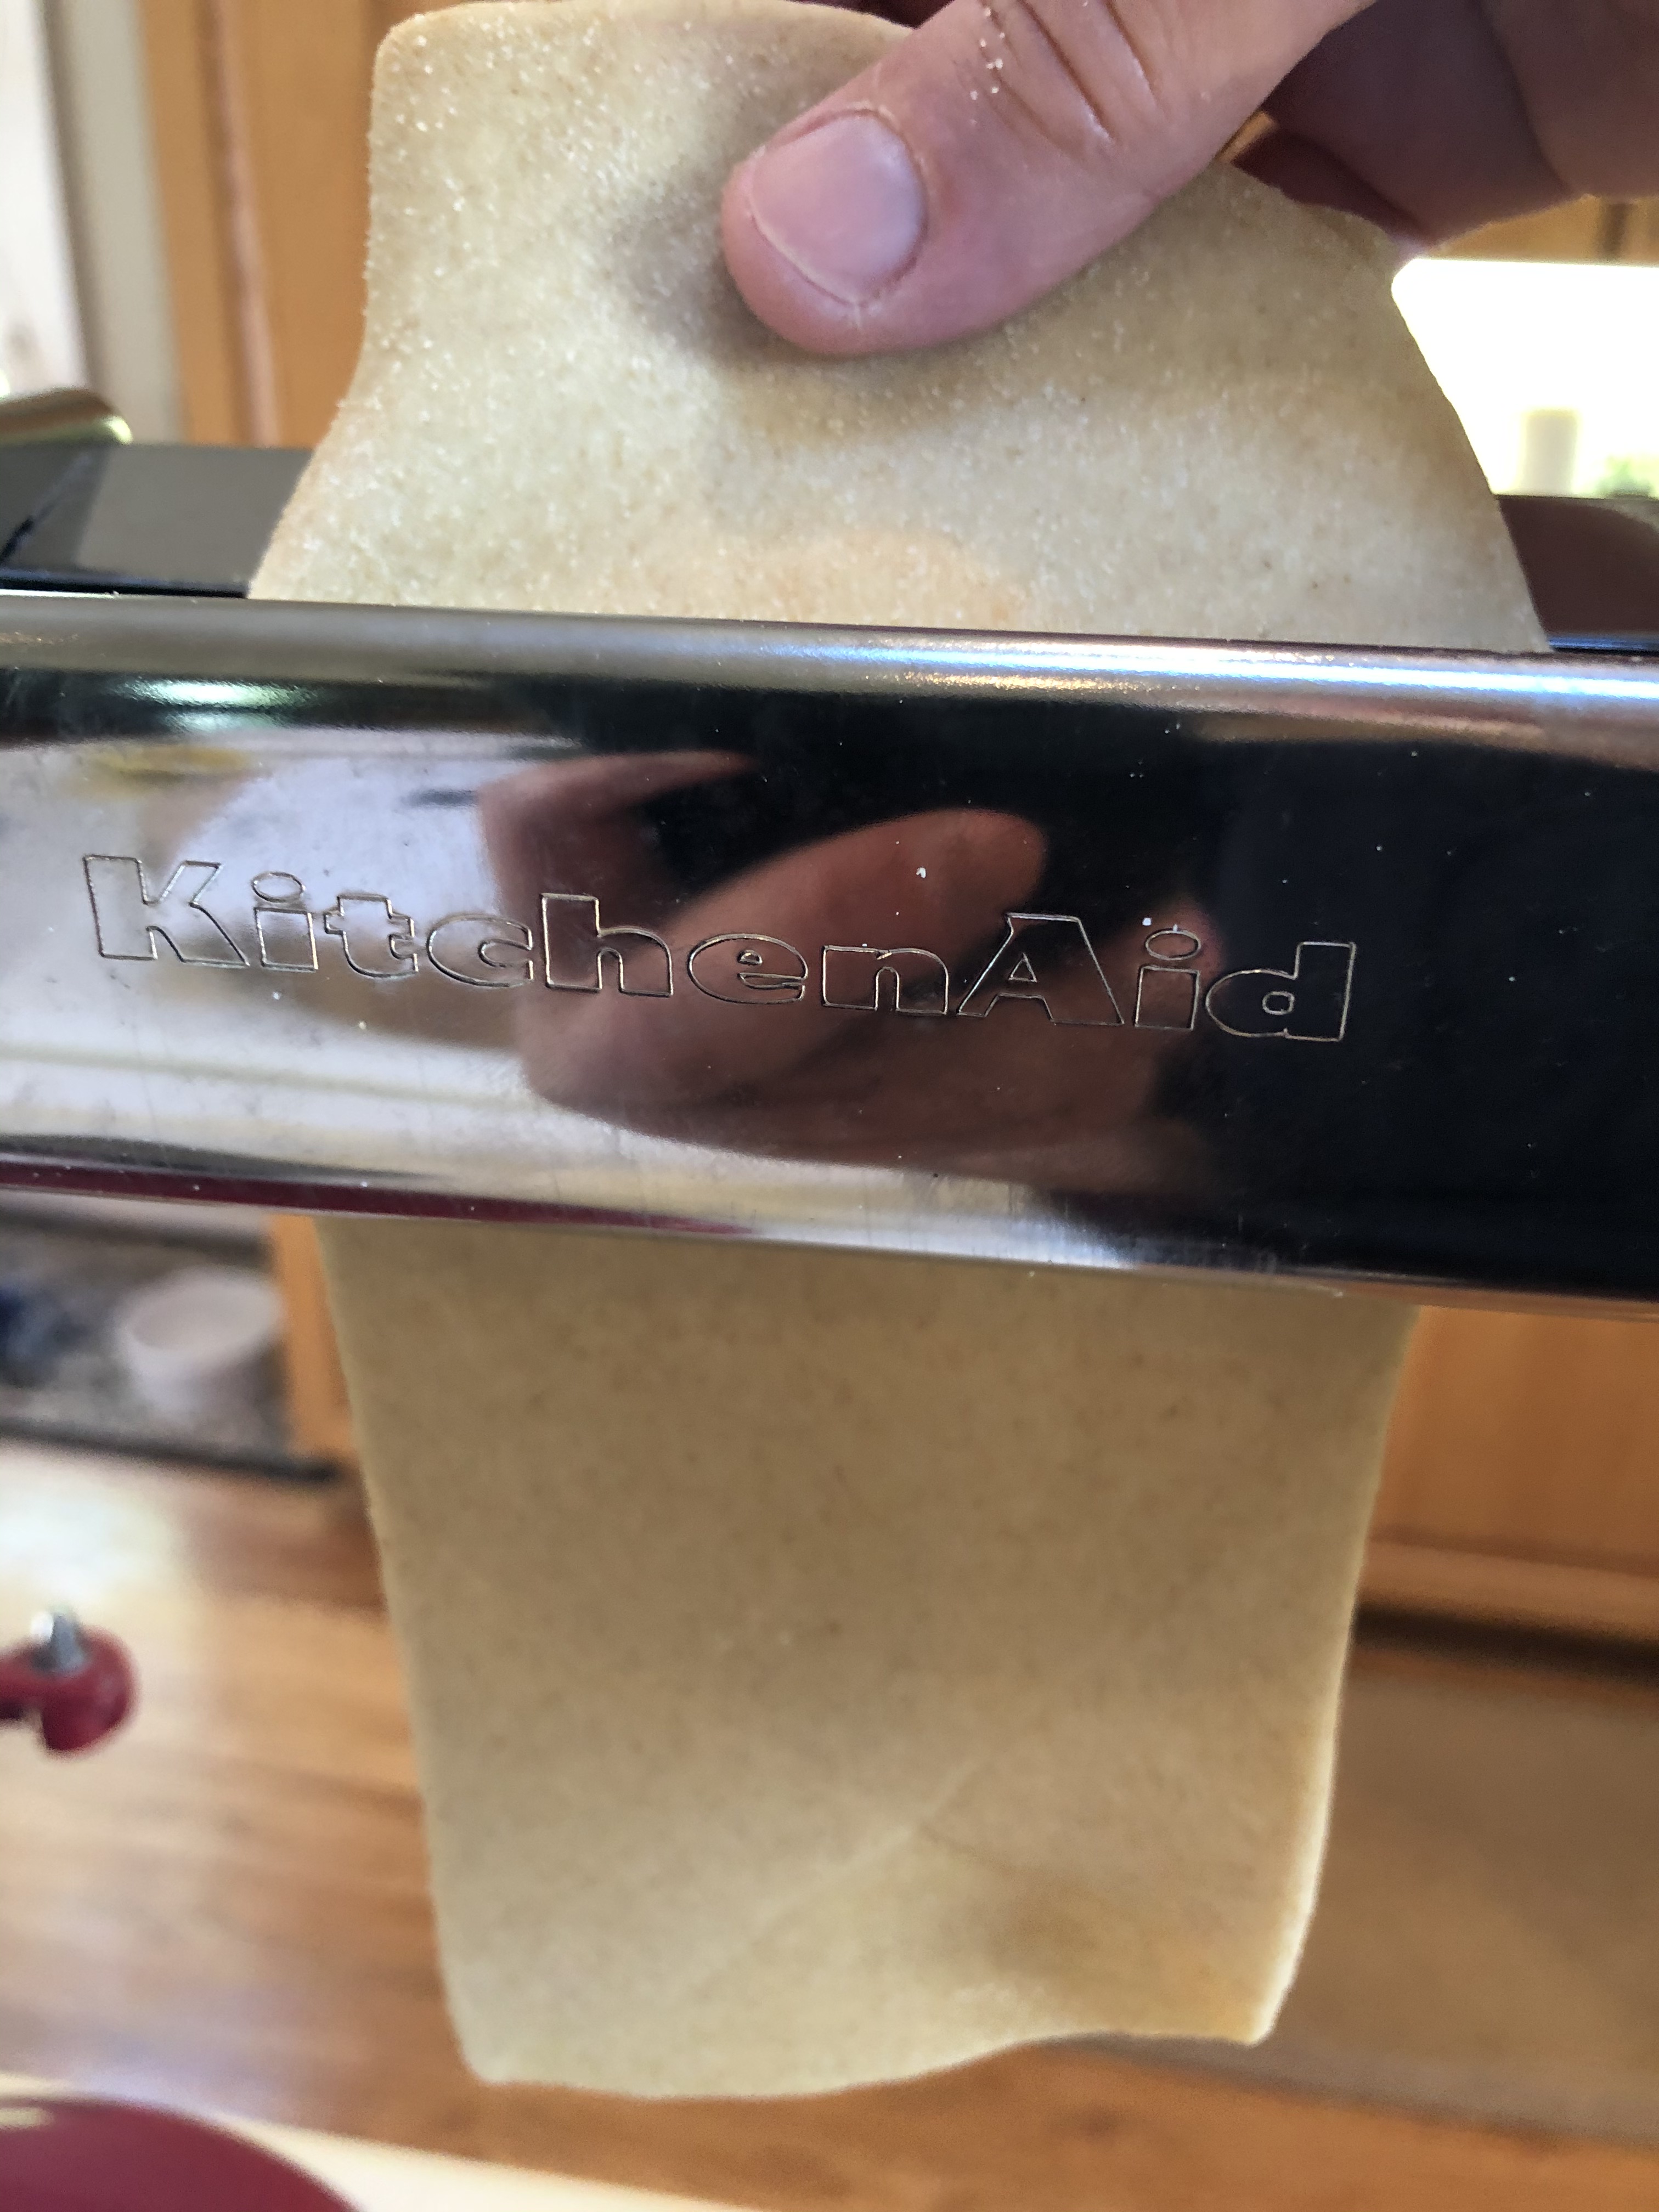
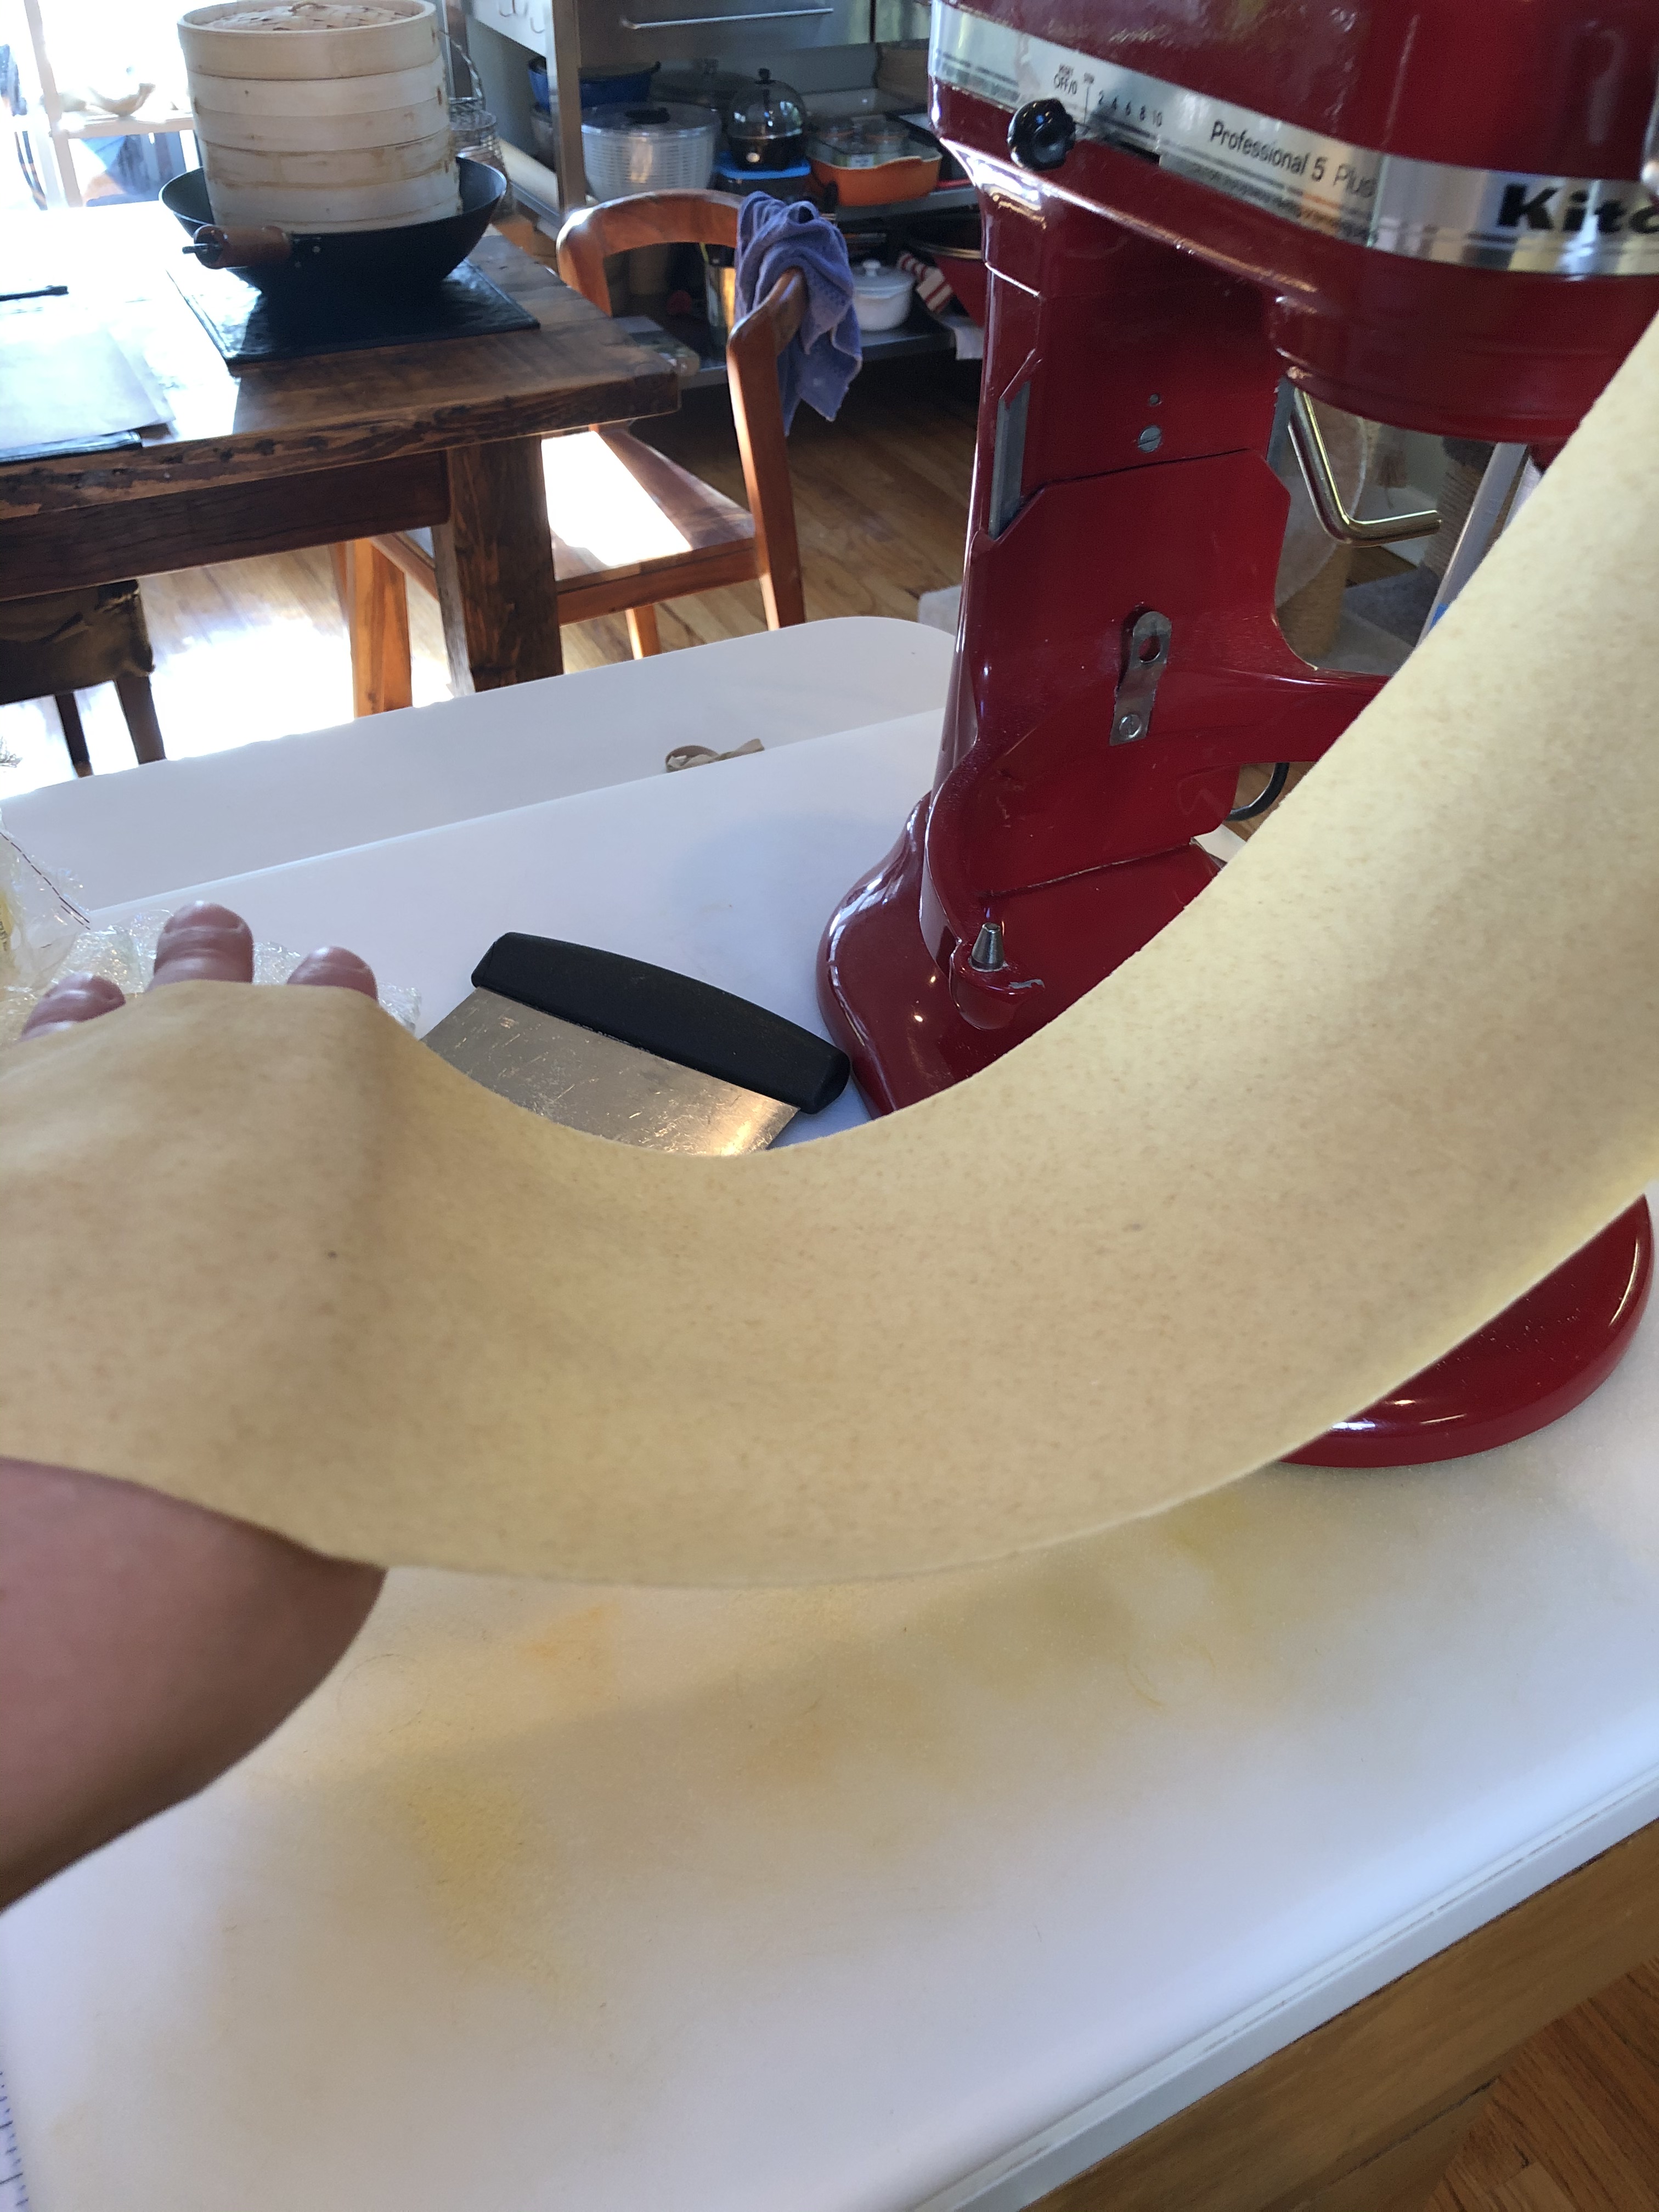
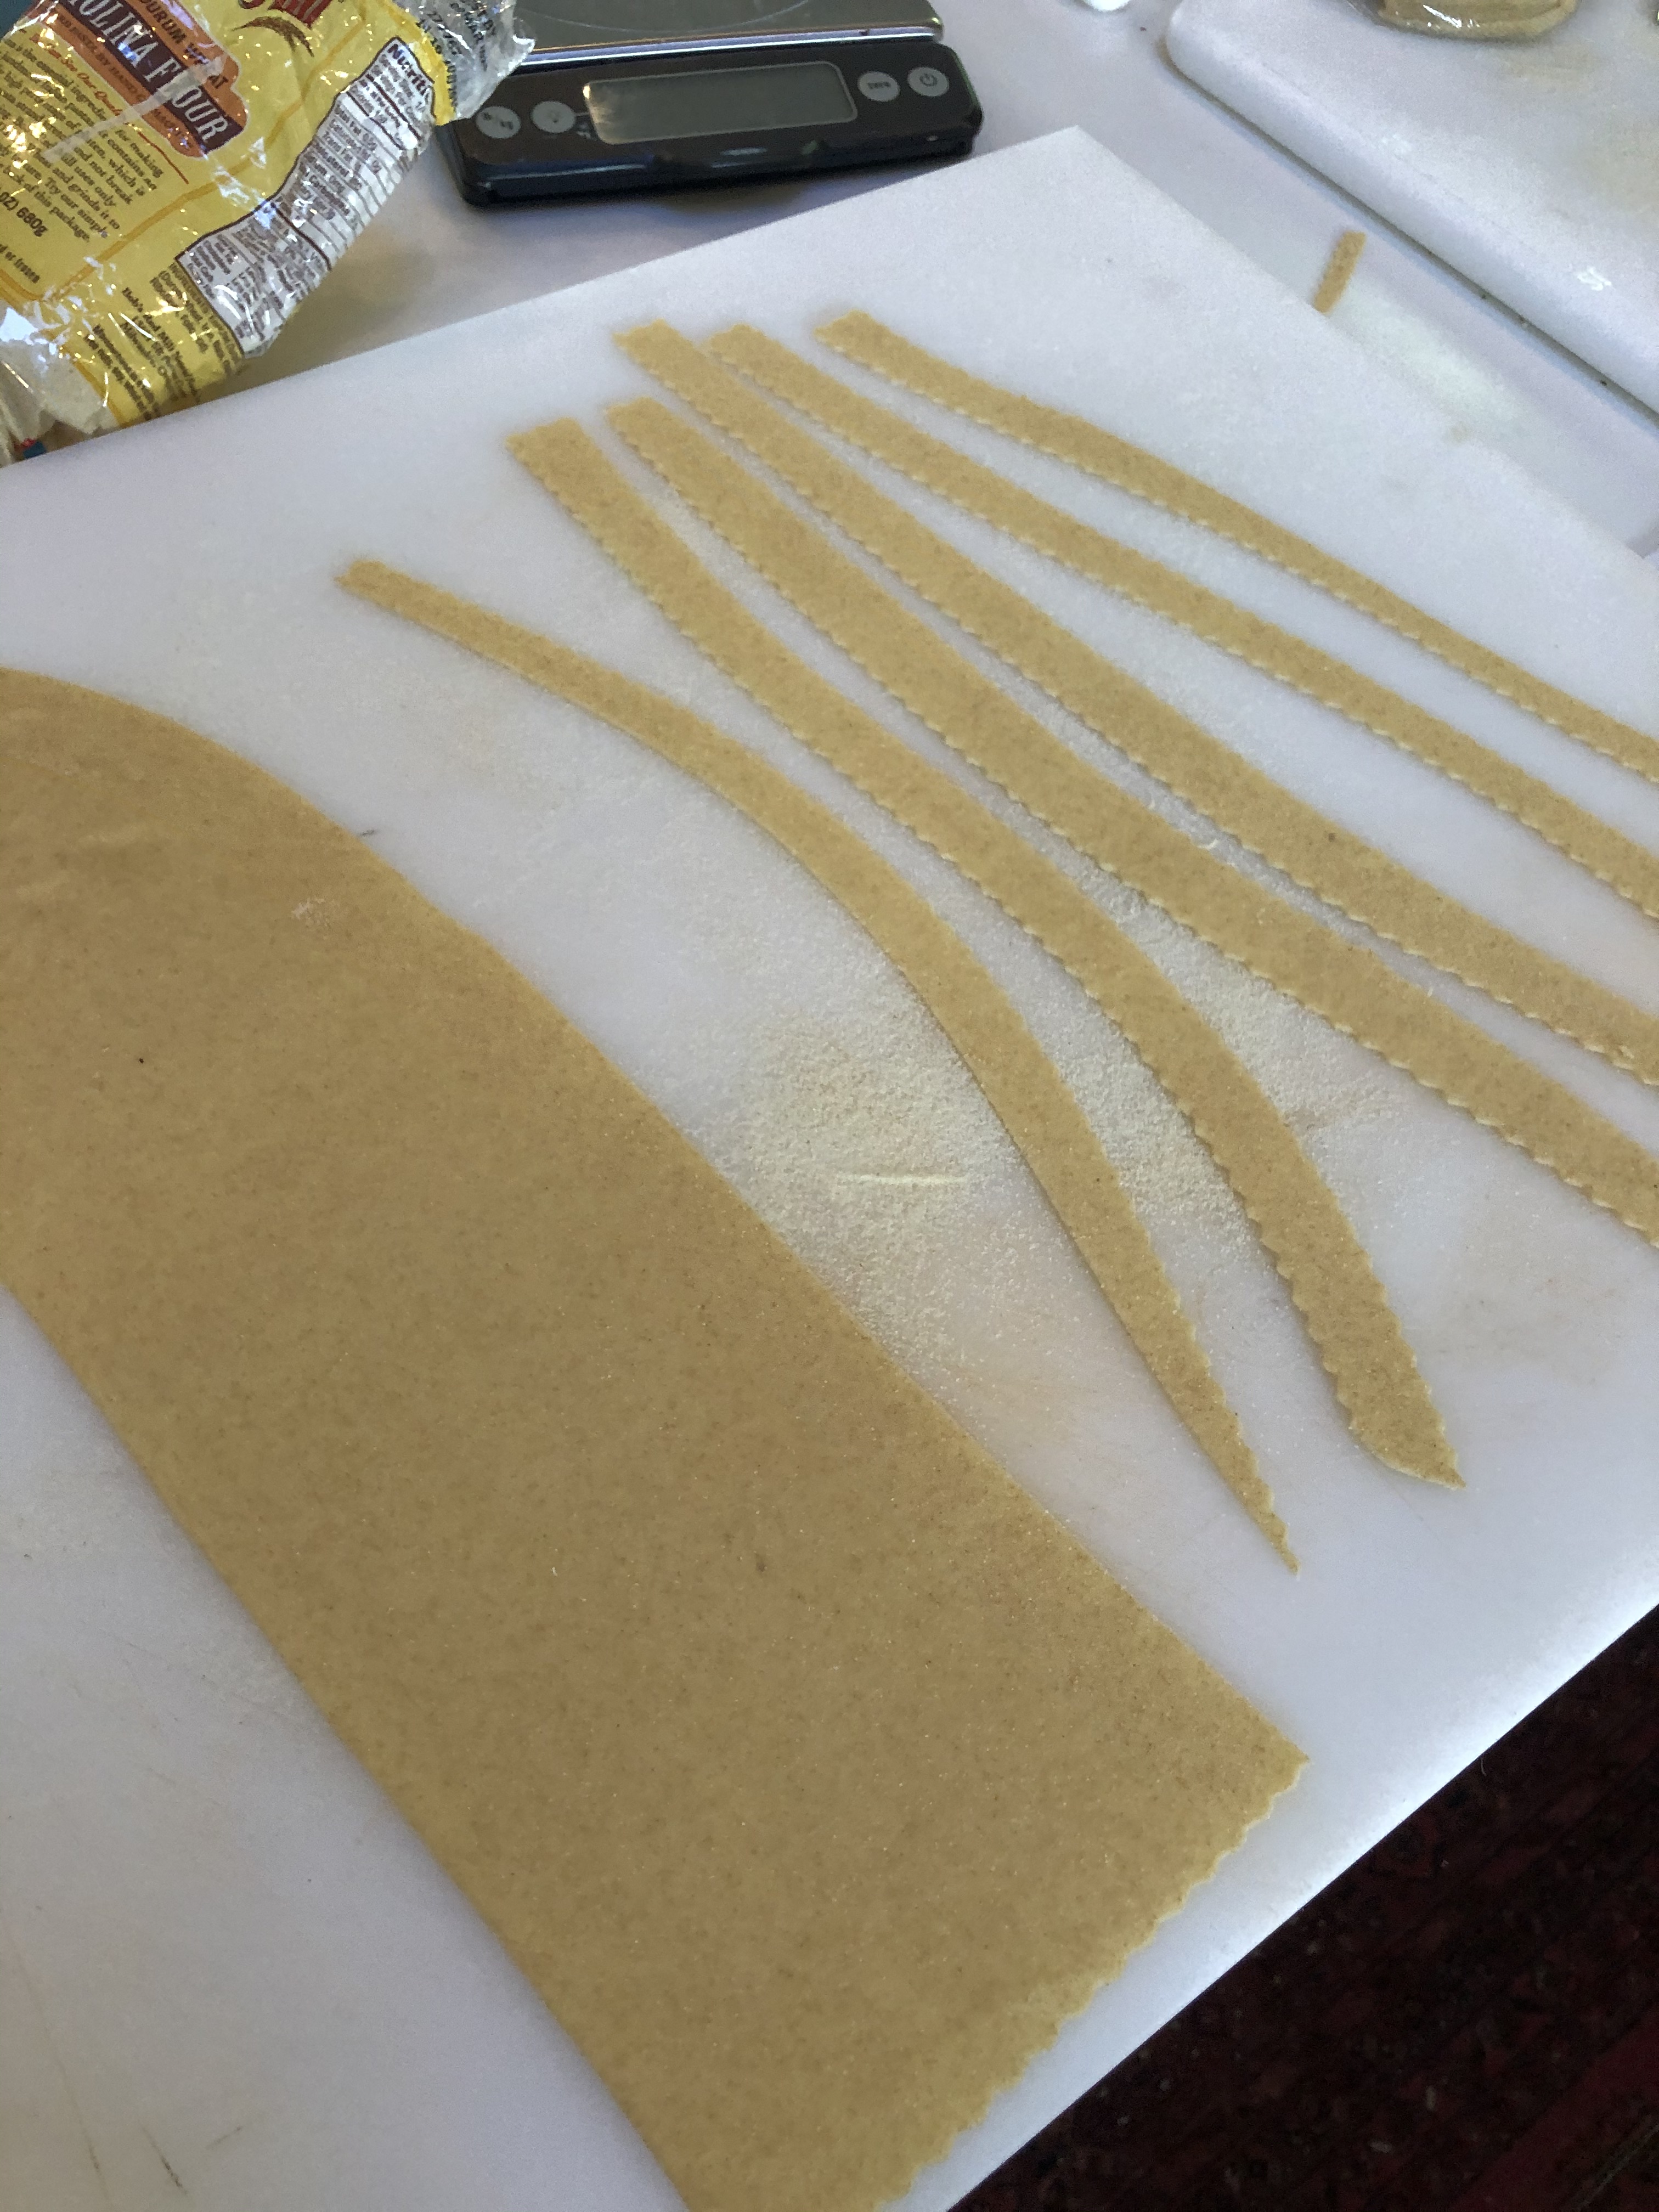
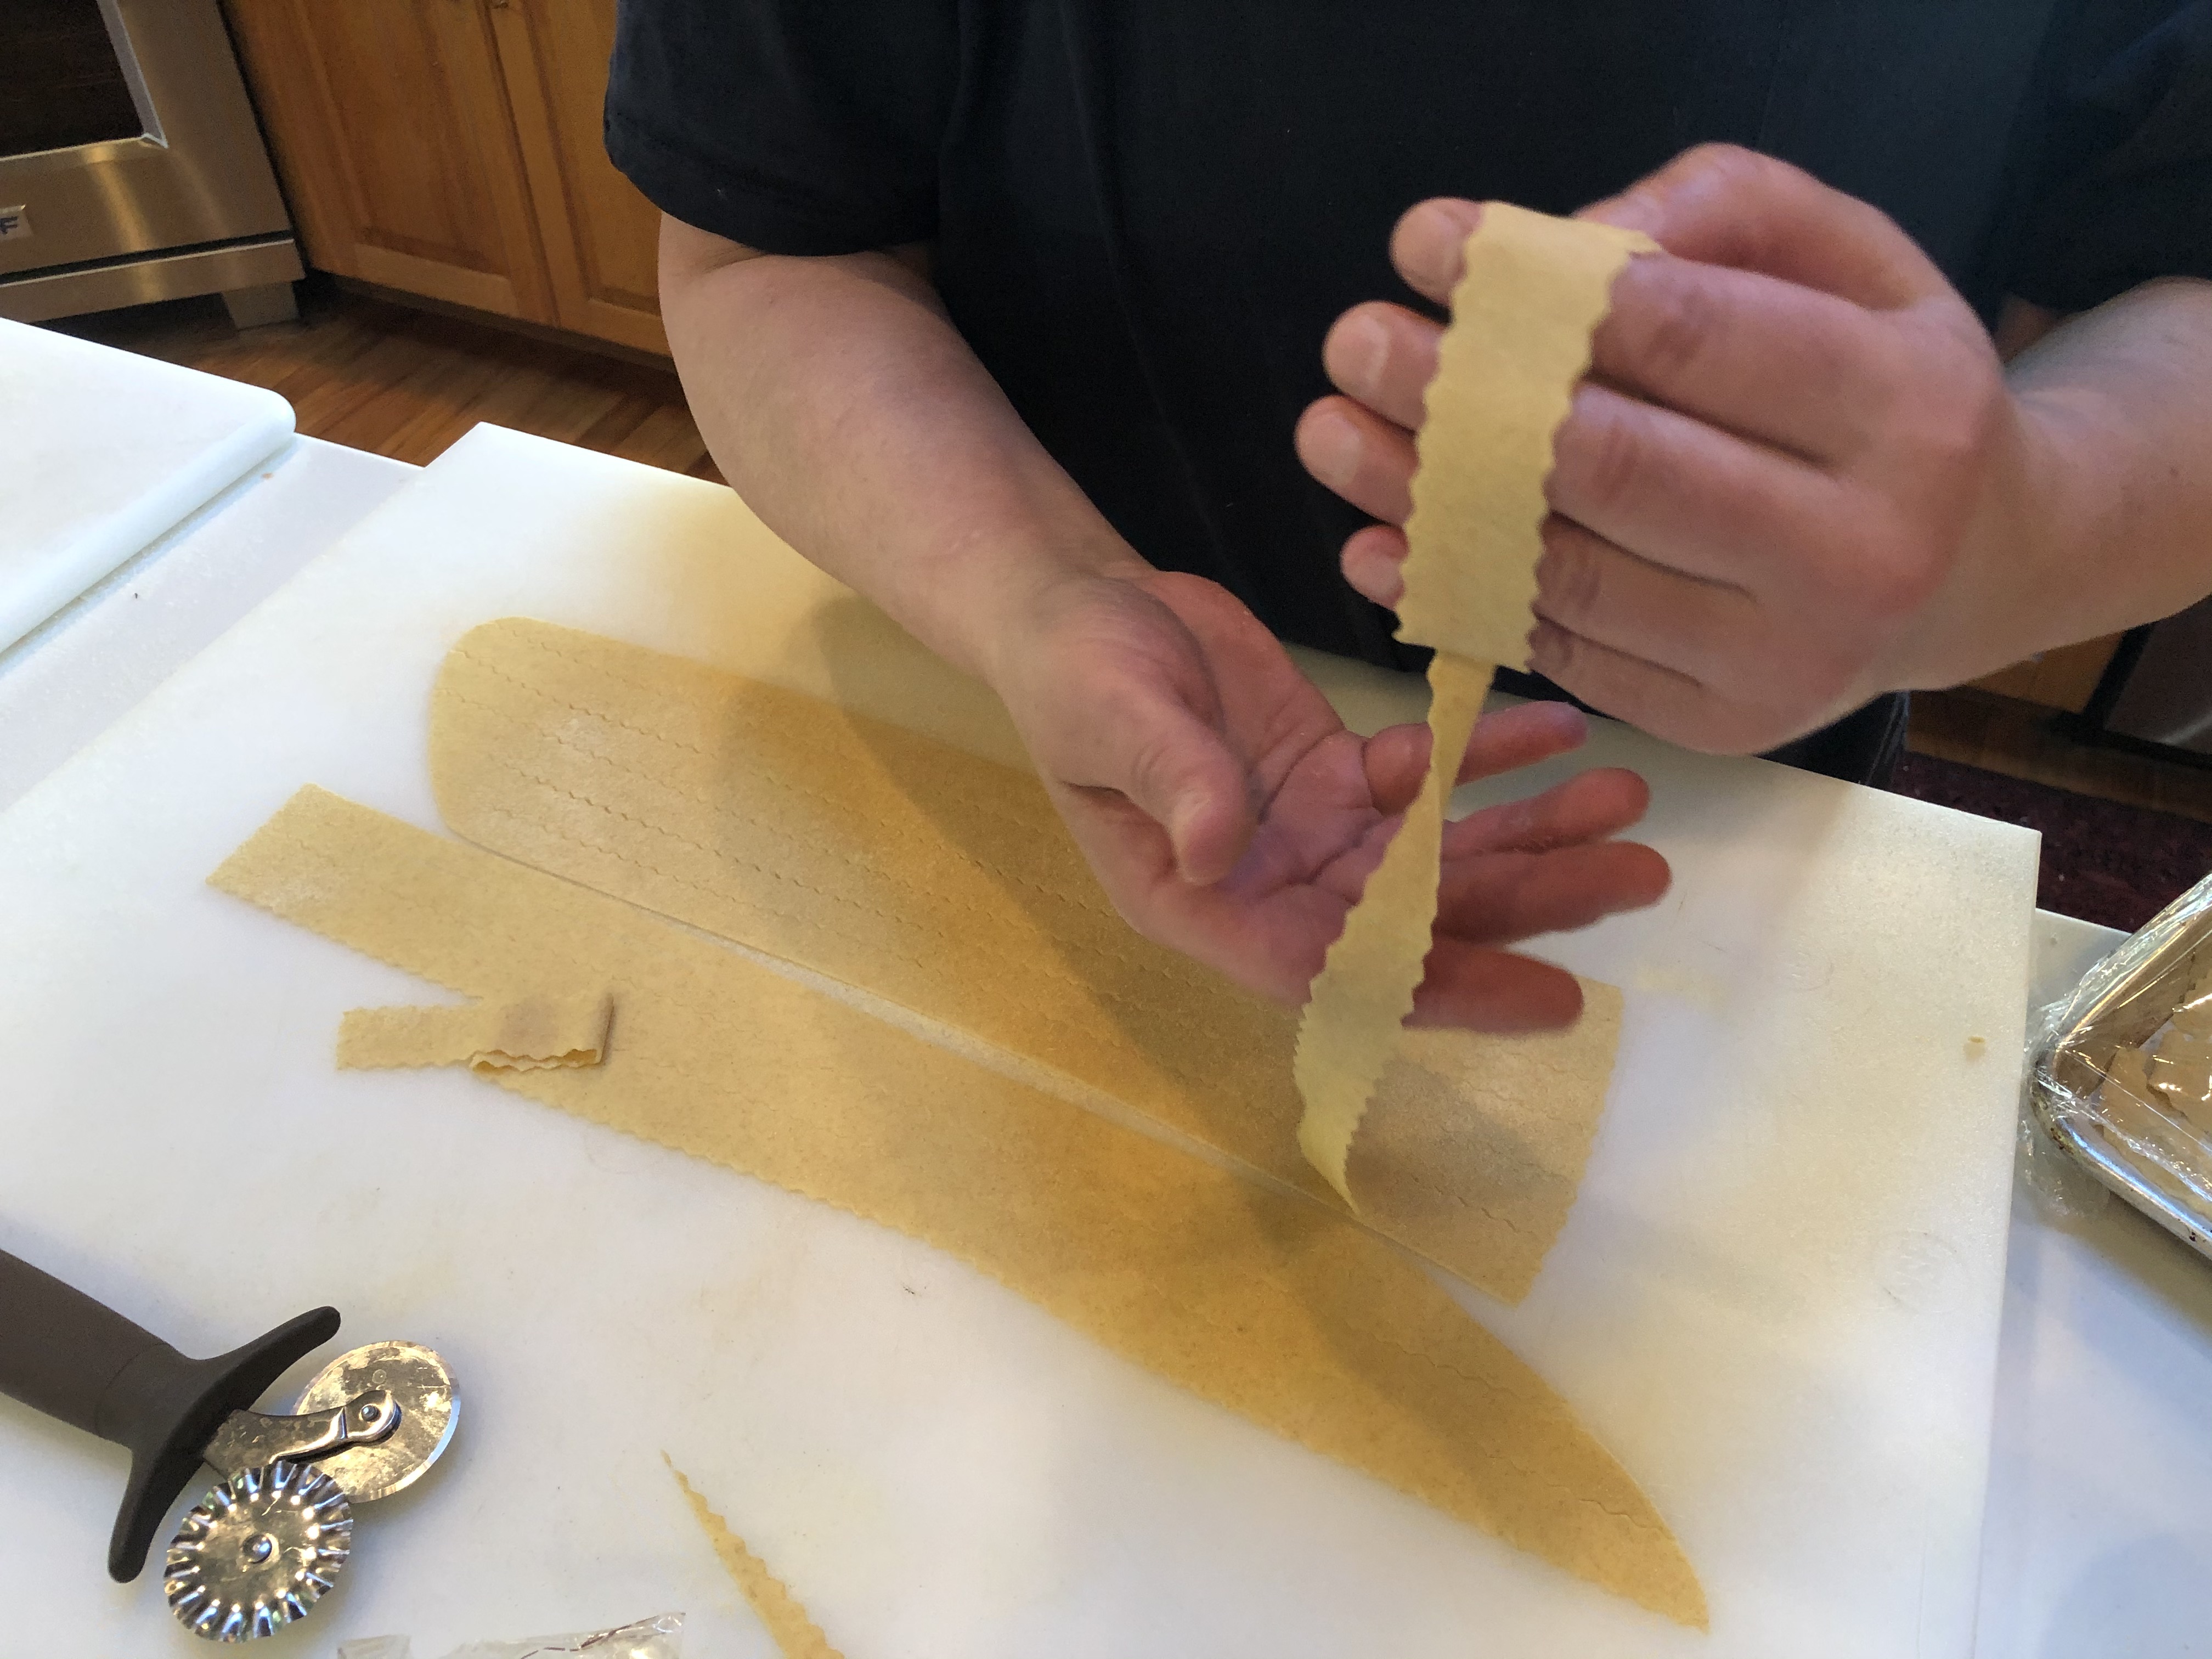
Below you’ll see how the recipe comes together, including cooking and plating. I’ll add a little bit of detail here and there to explain things a bit better.

1. ingredients
1. Ingredients are all ready to go.
2. flour well
2. Mix the flours together with the salt. Make a well in the flour (a combination of all-purpose and Tipo 00 soft wheat flour).
3. flour well with egg
3. Add the egg to the flour. I’ll start with one egg and add the other if the dough is too stiff.
4. think I'll need that second egg
4. I think I’ll need that second egg after all.
5. combining egg & flour
5. Combining egg & flour.
6. adding sourdough discard
6. Adding sourdough discard.
7. the dough is formed
7. Form the dough.
8. finished kneading
8. Finished kneading.
9. wrapped to rest
9. Wrapped to rest.
10. hydrated dough
10. Hydrated dough ready for the pasta rollers.
11. quarter the dough
11. Quarter the dough, so the pieces are manageable.
12. get ready for rollers
12. Press a piece of the dough so that it can fit through the pasta rollers.
13. passing through rollers
13. Passing the dough through the rollers. I used the Kitchen Aid pasta maker attachment, which made it really easy.
14. folding dough like a letter
14. Folding dough like a letter and continuing to pass through the rollers.
15. through rollers several more times
15. The dough passes through a series of rollers and gets thinner as the setting number increases.
16. and it continues
16. And it continues (it’s not that much work).
17. we're finished rolling!
17. We’re through setting #5 on the rollers, and we’re finished!
18. cut the long sheet in half
18. I’ll cut the long strips in half crosswise to make them more manageable.
19. cutting the strips of pasta
19. I’m cutting the pasta into thin strips by hand with a fluted pastry wheel instead of putting it through another set of rollers, which would have given me perfectly even strips.
20. the cut strips
20. This shape is called “Mafalda.” They’re like pappardelle but with ruffled edges. I love the rustic look of this shape, and I wanted to see how far I could push the dough. Turns out it was quite flexible and forgiving.
21. forming nests
21. Forming nests with the pasta strips.
22. all on the sheet pan
22. All on a parchment-lined sheet pan lightly dusted with semolina flour.
23. into the water
23. Mafalda pasta cooked and drained. So far, so good!
24. pre-made sauce
24. Pre-made sauce at the ready.
25. cooked!
25. Wow! The pasta looks excellent. Holding together nicely!
26. let's eat!
26. Let’s eat!

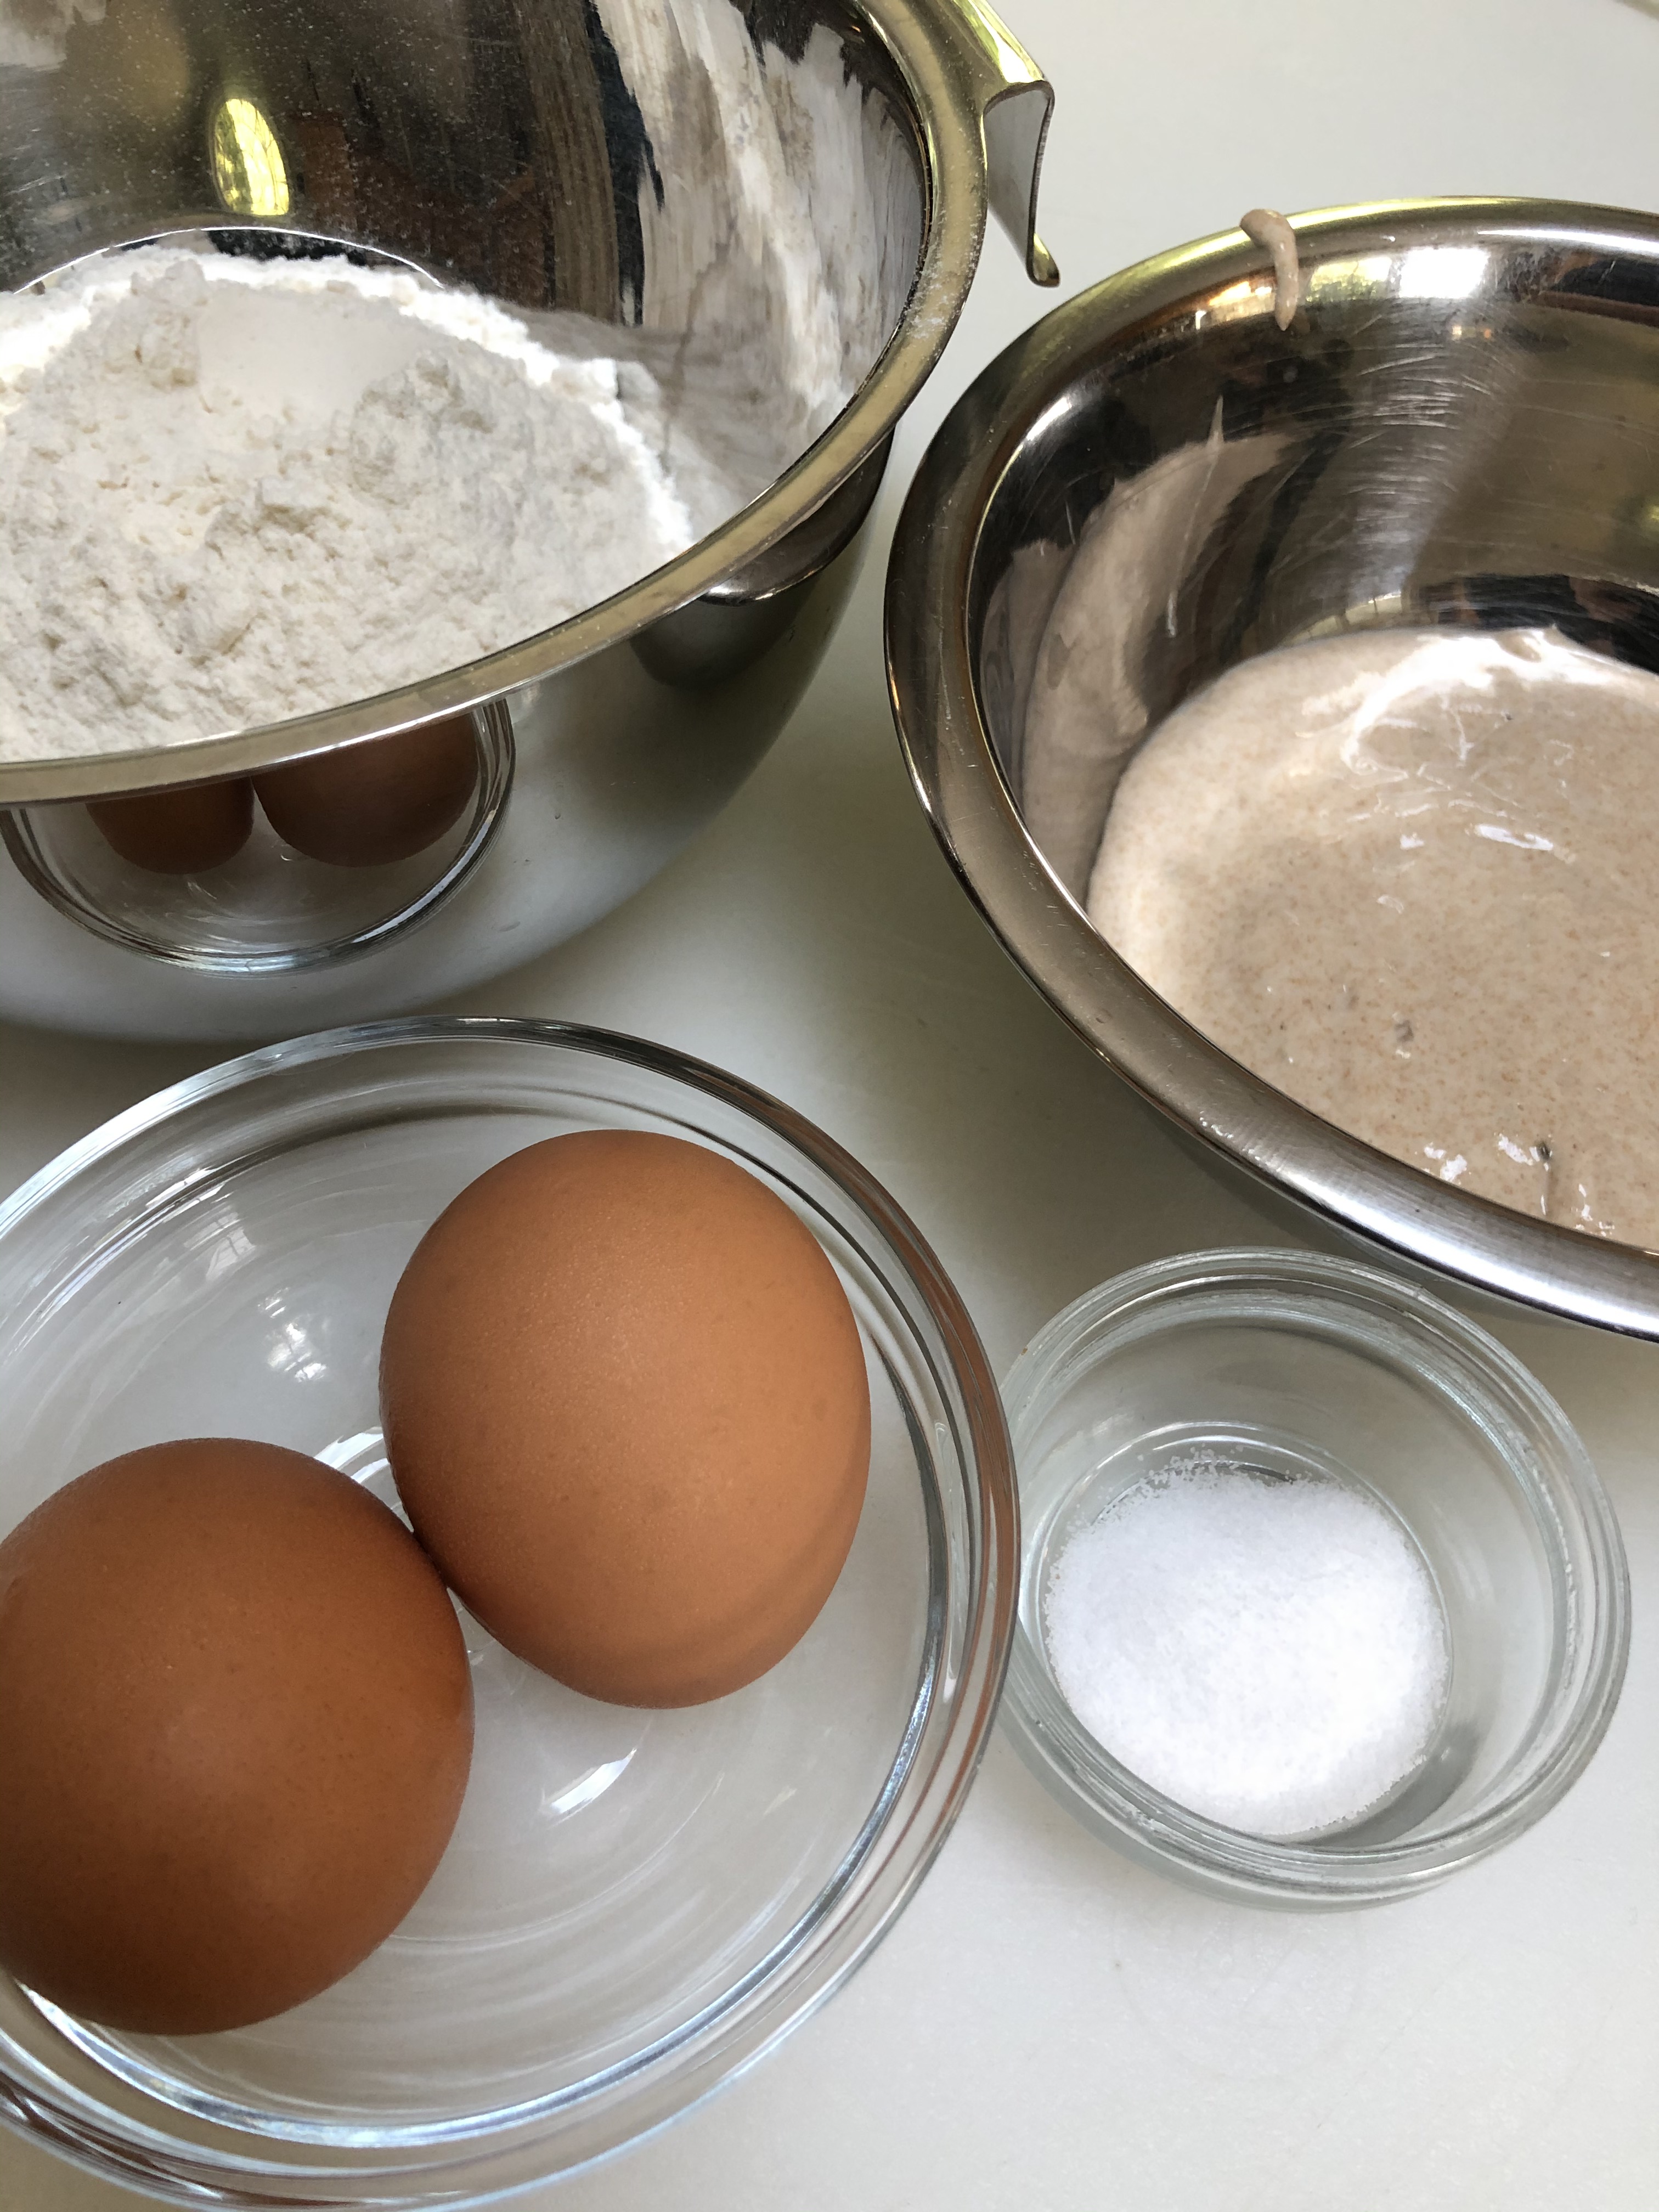
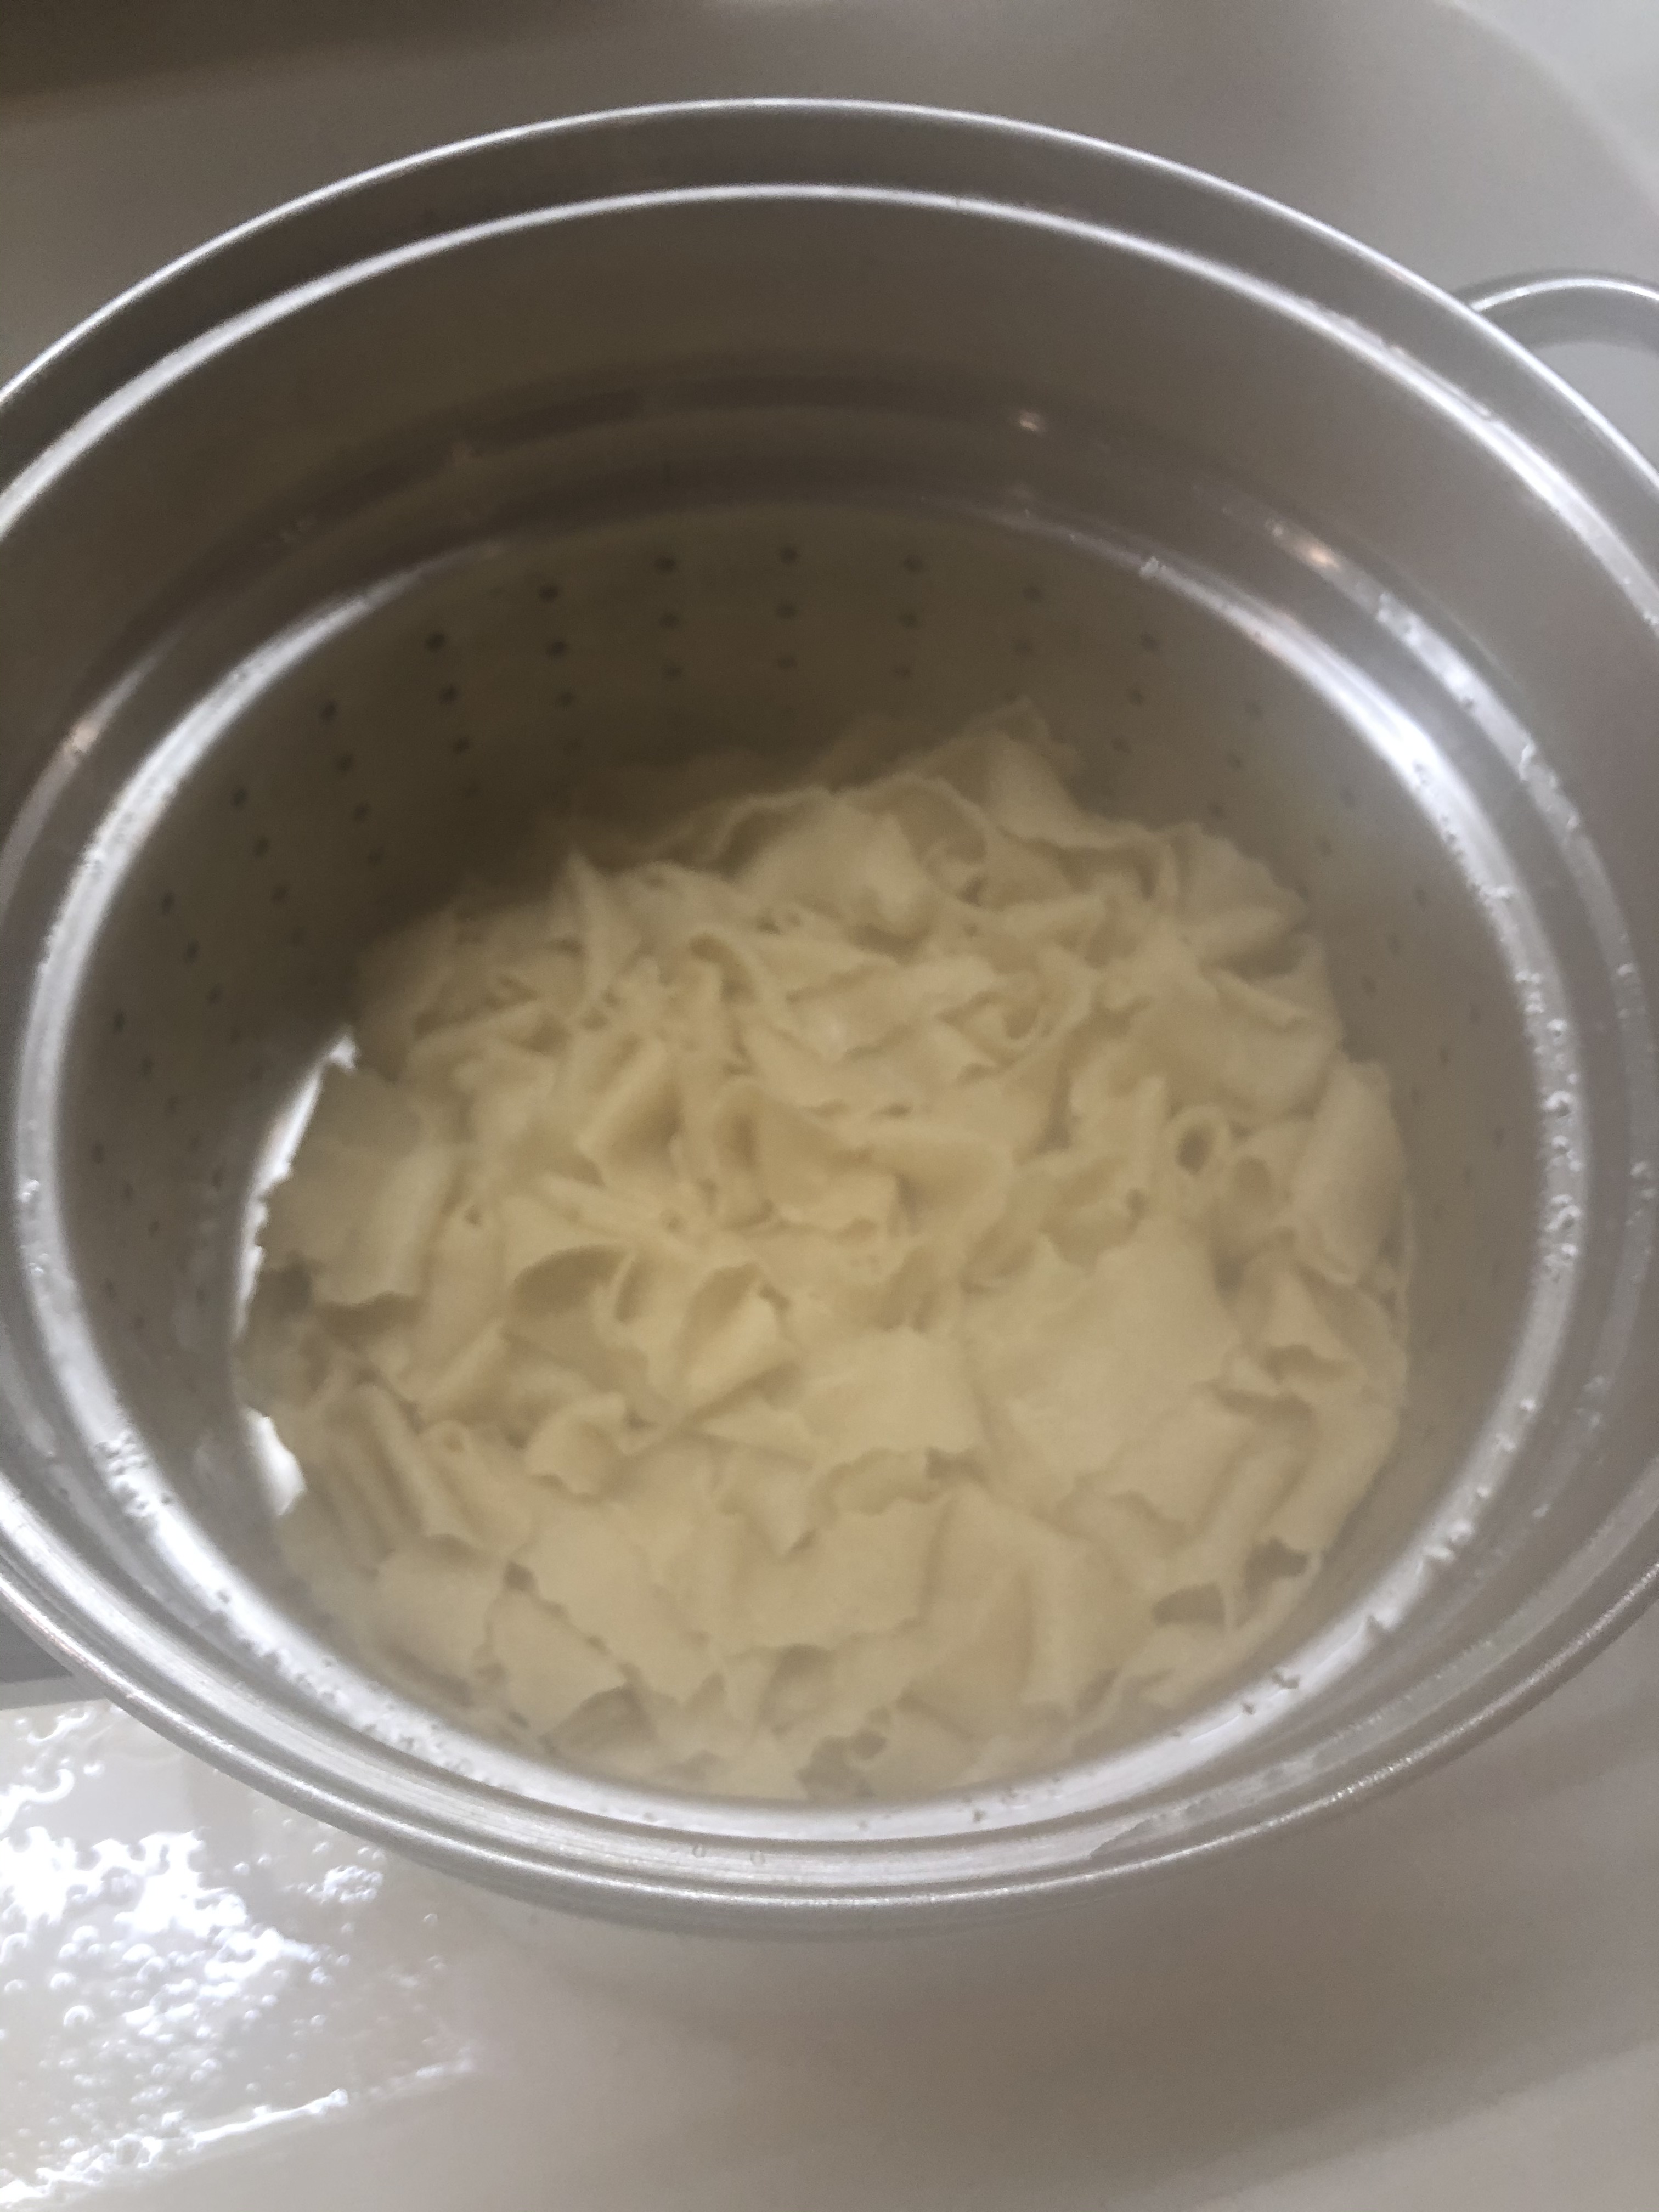
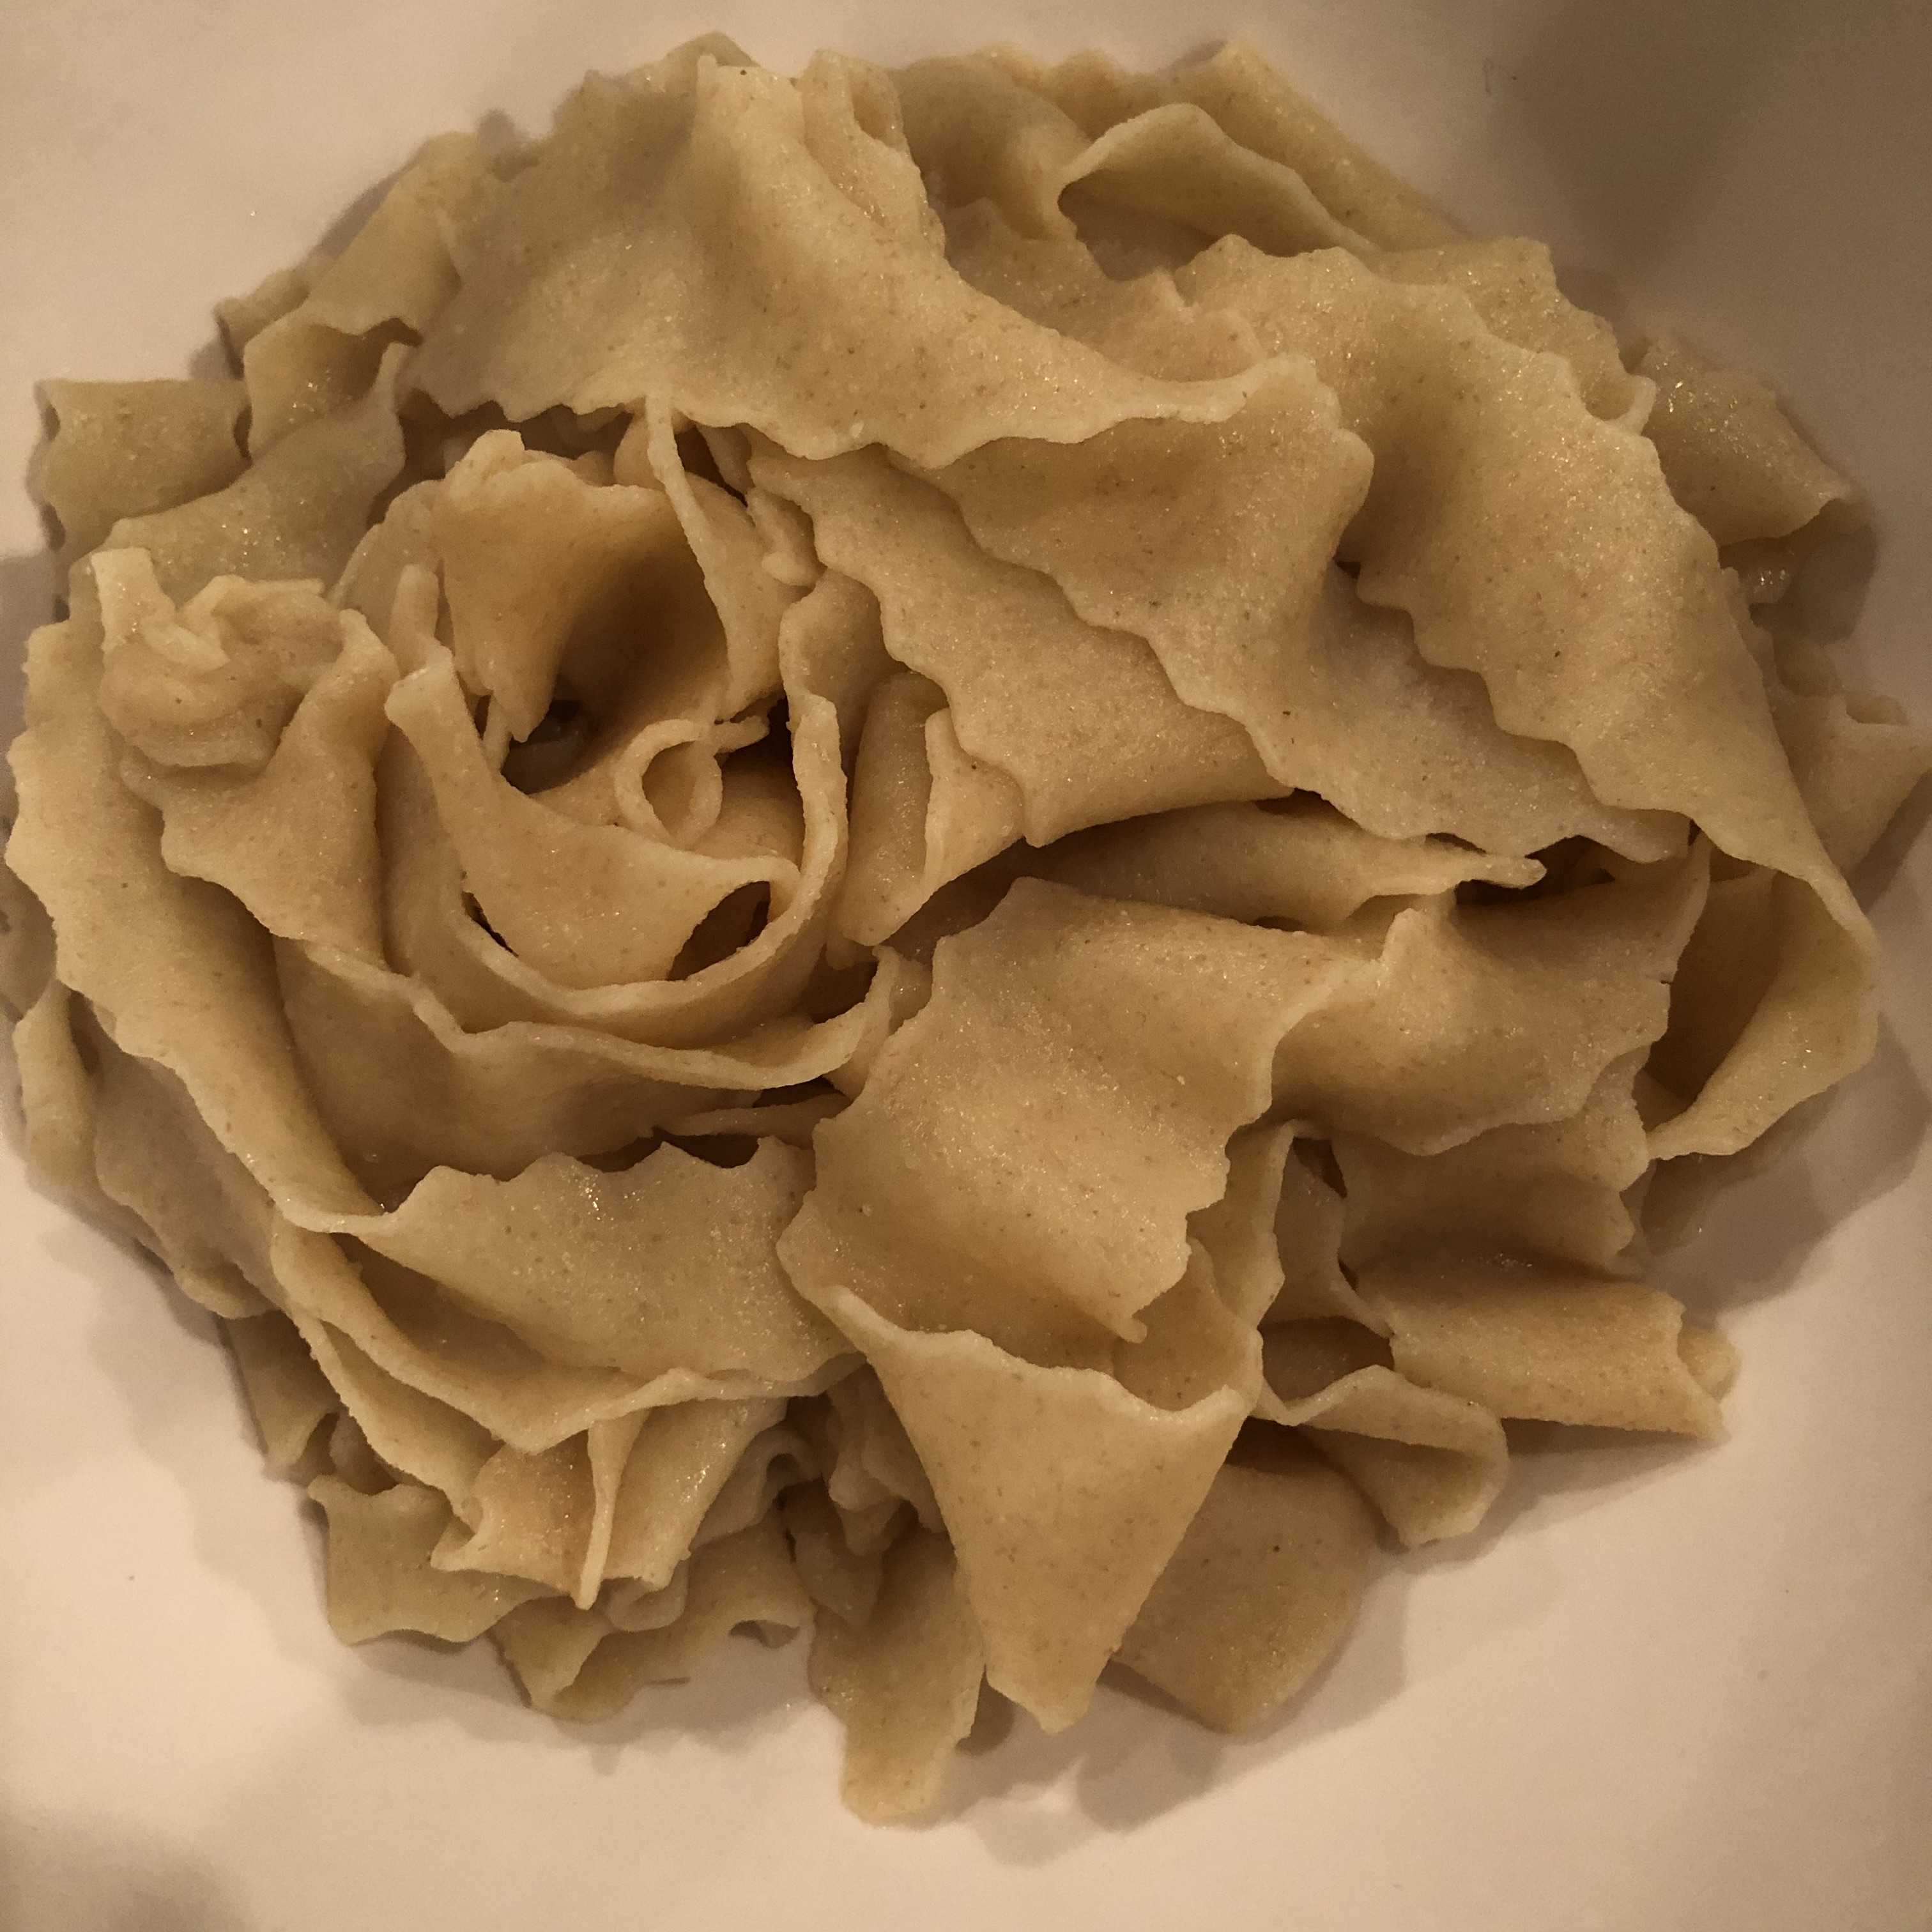
I’m so pleased to report that the pasta made with Junior’s discard (read part one of this blog for details about Junior) worked! It was really delicious with a hint of tanginess from the sourdough discard. I’ll definitely make this again while I continue exploring alternate uses for sourdough discard.

Email me for this recipe.

Questions? I’m always here with answers.

–Chef Diana


Leave a Reply

Fill in your details below or click an icon to log in:

WordPress.com Logo

You are commenting using your WordPress.com account. Log Out /  Change )

Facebook photo

You are commenting using your Facebook account. Log Out /  Change )

Connecting to %s

This site uses Akismet to reduce spam. Learn how your comment data is processed.